Martin Custom Bridge Replacement – Part 3: Final Fitting
The third and last article in the story of the restoration of a pre-’34 Martin guitar with a broken bridge. The first two parts of the Martin Custom Bridge Replacement cover removal of the broken bridge and the carving of a replacement.
 The first step in getting this replacement back on the guitar is ‘fitting’ it to the guitar top. Like many of us, over the years, pretty much all guitars gain a bigger belly. Under a lot of tension from the strings, changes occur in the wood of a guitar. One of those changes is a bellying of the top under the bridge. Excessive bellying can cause problems but a little is not something to worry unduly about.
On another guitar, I might just glue the flat bottom of the new bridge right onto the slightly bellied top in order to help flatten that belly. This guitar, however, is more than three quarters of a century old and I don’t really want to force 75 years of bellying flat in one fell-swoop as I’m concerned about the potential stresses that would subject the top to. I don’t feel that there is excessive bellying on this guitar anyway and so, I’ve decided to fit the bottom of the new bridge to the belly that’s there.
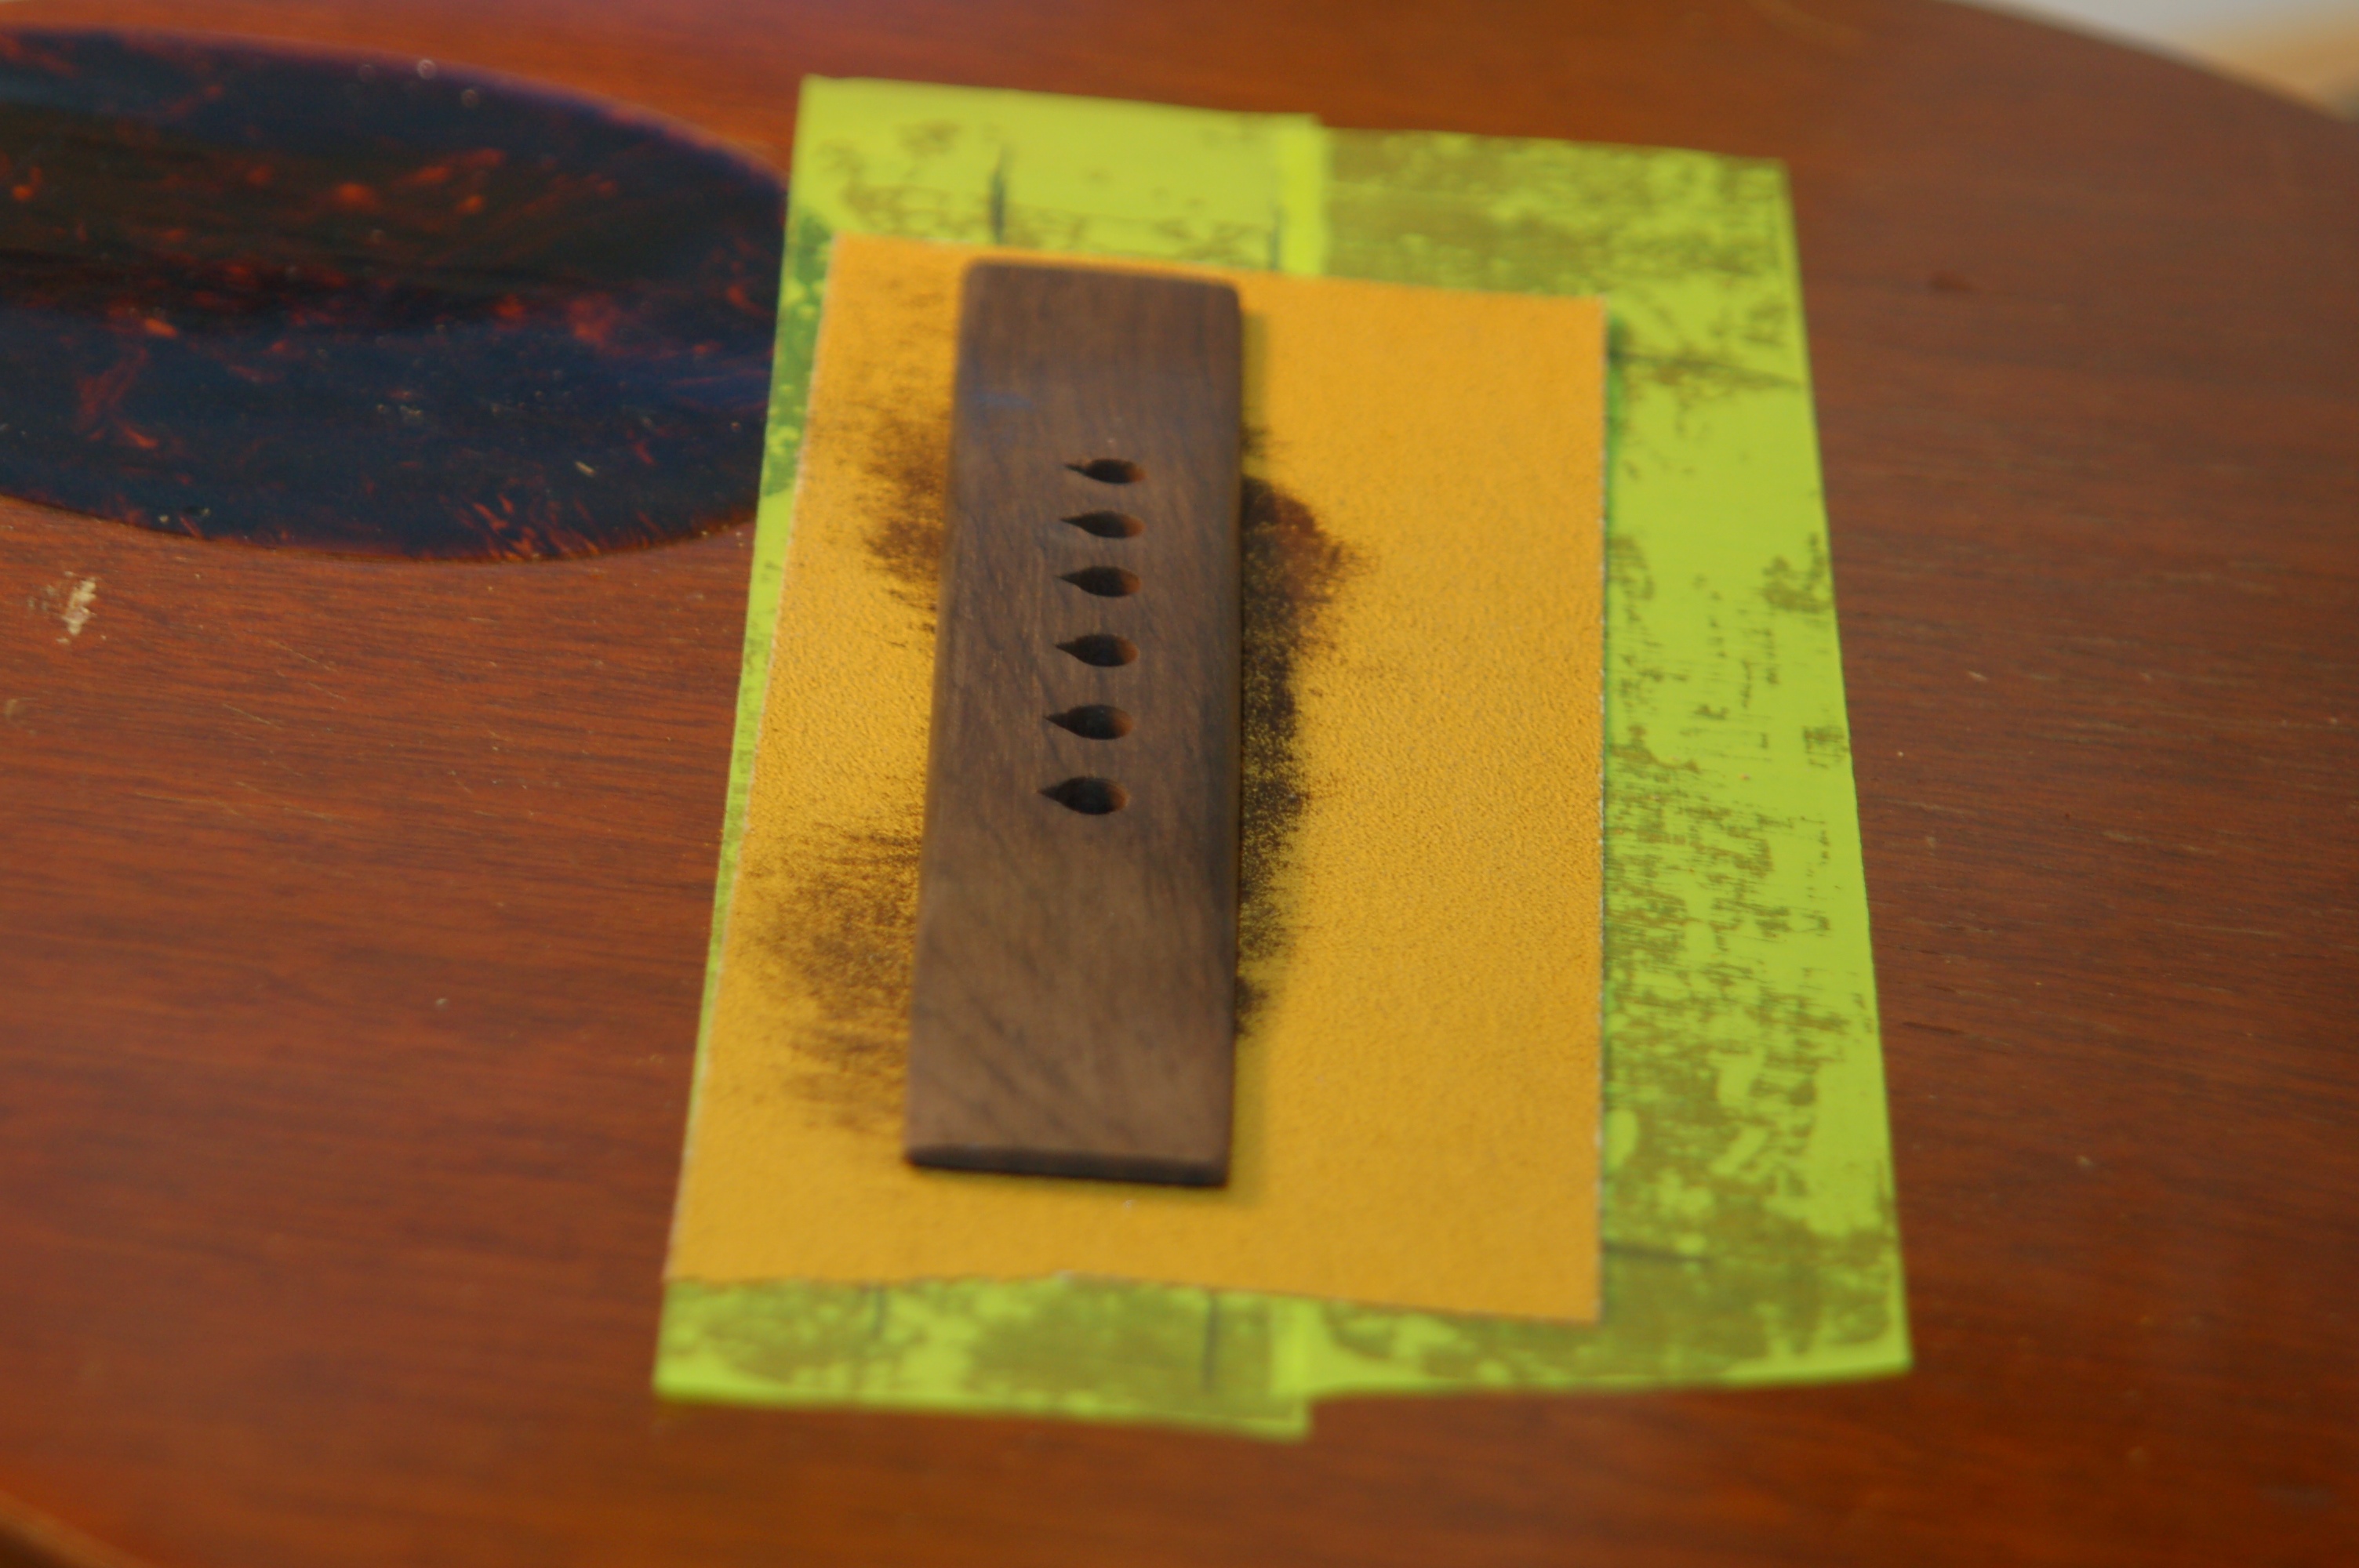
To do this, I affix self-adhesive sand-paper to the guitar top over the position the bridge occupies (after protecting the top with thin, low-tack, tape first). Inside the guitar, I gently use a spreader jack to raise the bridge area to simulate string-tension and then carefully sand the bottom of the new bridge into the shape of the slightly bellied top. It’s important to do this slowly and without too much pressure. It’s also important to make very small movements over the area where the bridge will be positioned.
 Now to glue the bridge on. The sandpaper in the step above has made the bridge bottom smooth and I roughen it up a little with some (careful) cross-hatching scores from the tip of a knife. This helps give the glue better adhesion. Hot-hide glue is what would have been used all those years ago and it’s what I use here. Apart from anything else, it’s what any future repair-person will expect and it’ll allow for an easier repair should it ever be required.
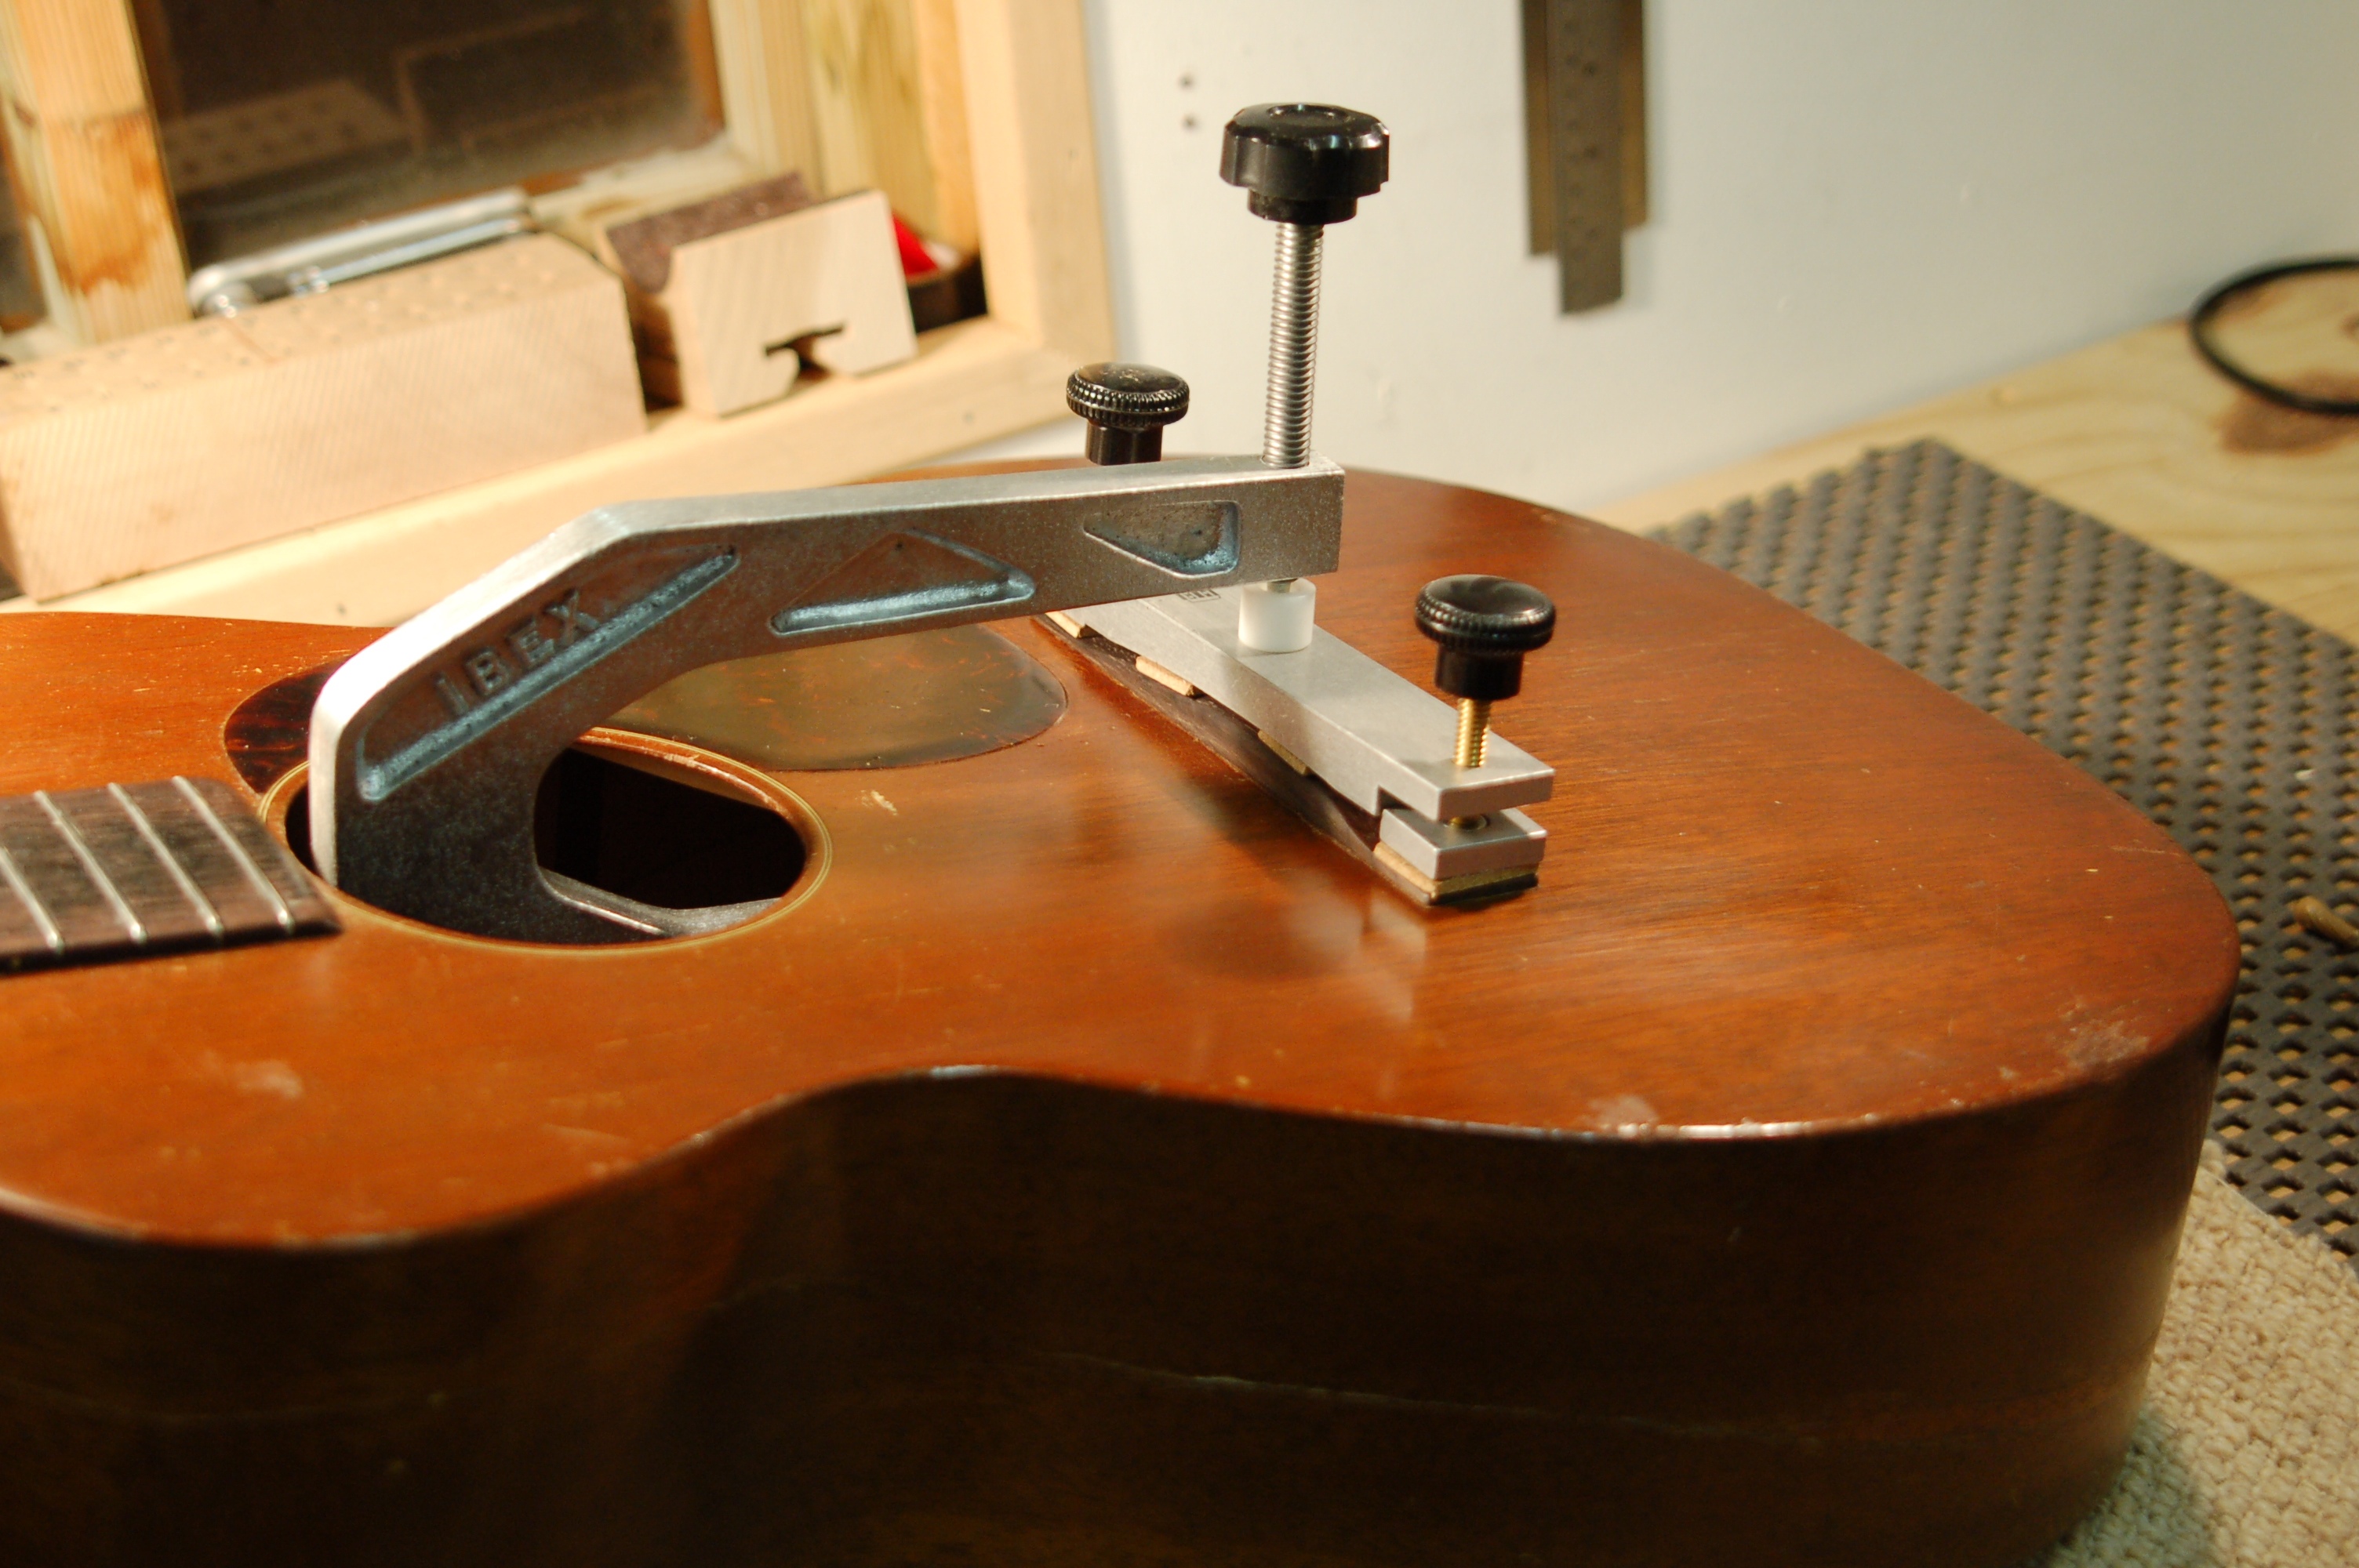
Gluing bridges used to be a tricky business involving multiple clamps but this bridge clamping caul makes life much easier. It allows one strong clamp be used and spreads the pressure from this clamp over the entire bridge. Brilliant. With hide glue, I need to work fast so I’ve dry clamped this in a practice run to ensure all the tools and clamps I need are to hand when I put the hot glue on the new bridge.
 After the glue has properly cured (I gave this a day to be absolutely safe), I measure and mark the saddle slot position. As mentioned back in the first article, the intonation on this guitar was a little out originally as the saddle slot was cut in the wrong position. This means I can now put right 75-odd years of bad intonation – that feels quite nice.
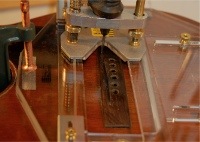
Once marked, the saddle slot routing jig and my Dremel make short work of cutting a new slot. By the way, the routing jig – and the router base for the Dremel, in fact – are from Stewart MacDonald
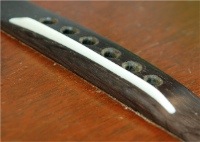 Now we’re on the home-stretch. It’s time to ream the holes in the bridge to the correct 5 degree angle to accept the bridge pins and to chamfer (or slightly slope) the hard edges of the holes. Make up a new saddle (bone, of course), tidy the string slots and we’re done. all that’s left is to string this beautiful little, septuagenerian, baby and have a bit of a play to ensure it’s ok.
A few hours playing should do the trick. Hey! It’s a nice guitar – this is a perk of the job.
I hope you’ve stuck with us through this series and that you’ve found it helpful. I realise it’s a bit more advanced than most people will be attempting at home but I reckon it never hurts to have an appreciation of these things. Should you ever need a replacement bridge, you know something of what’s involved and can speak knowledgeably to your repair guy or assess whether your potential repair guy is up to the job.
As always, feel free to shout out with any questions below in the comments.
This article was brought to you by Gerry Hayes and from the workshop of Haze Guitars.
Haze Guitars provides instrument repair, restoration and upgrade services in Dublin, Ireland.