Martin Custom Bridge Replacement – Part 2: Carve New Bridge
This is second part of the story of replacing a broken bridge on a, rather lovely, pre-1934 Martin. This update is slightly tardy so feel free to catch up on part one (where we remove the broken bridge) first.
Done? All caught up? Splendid.
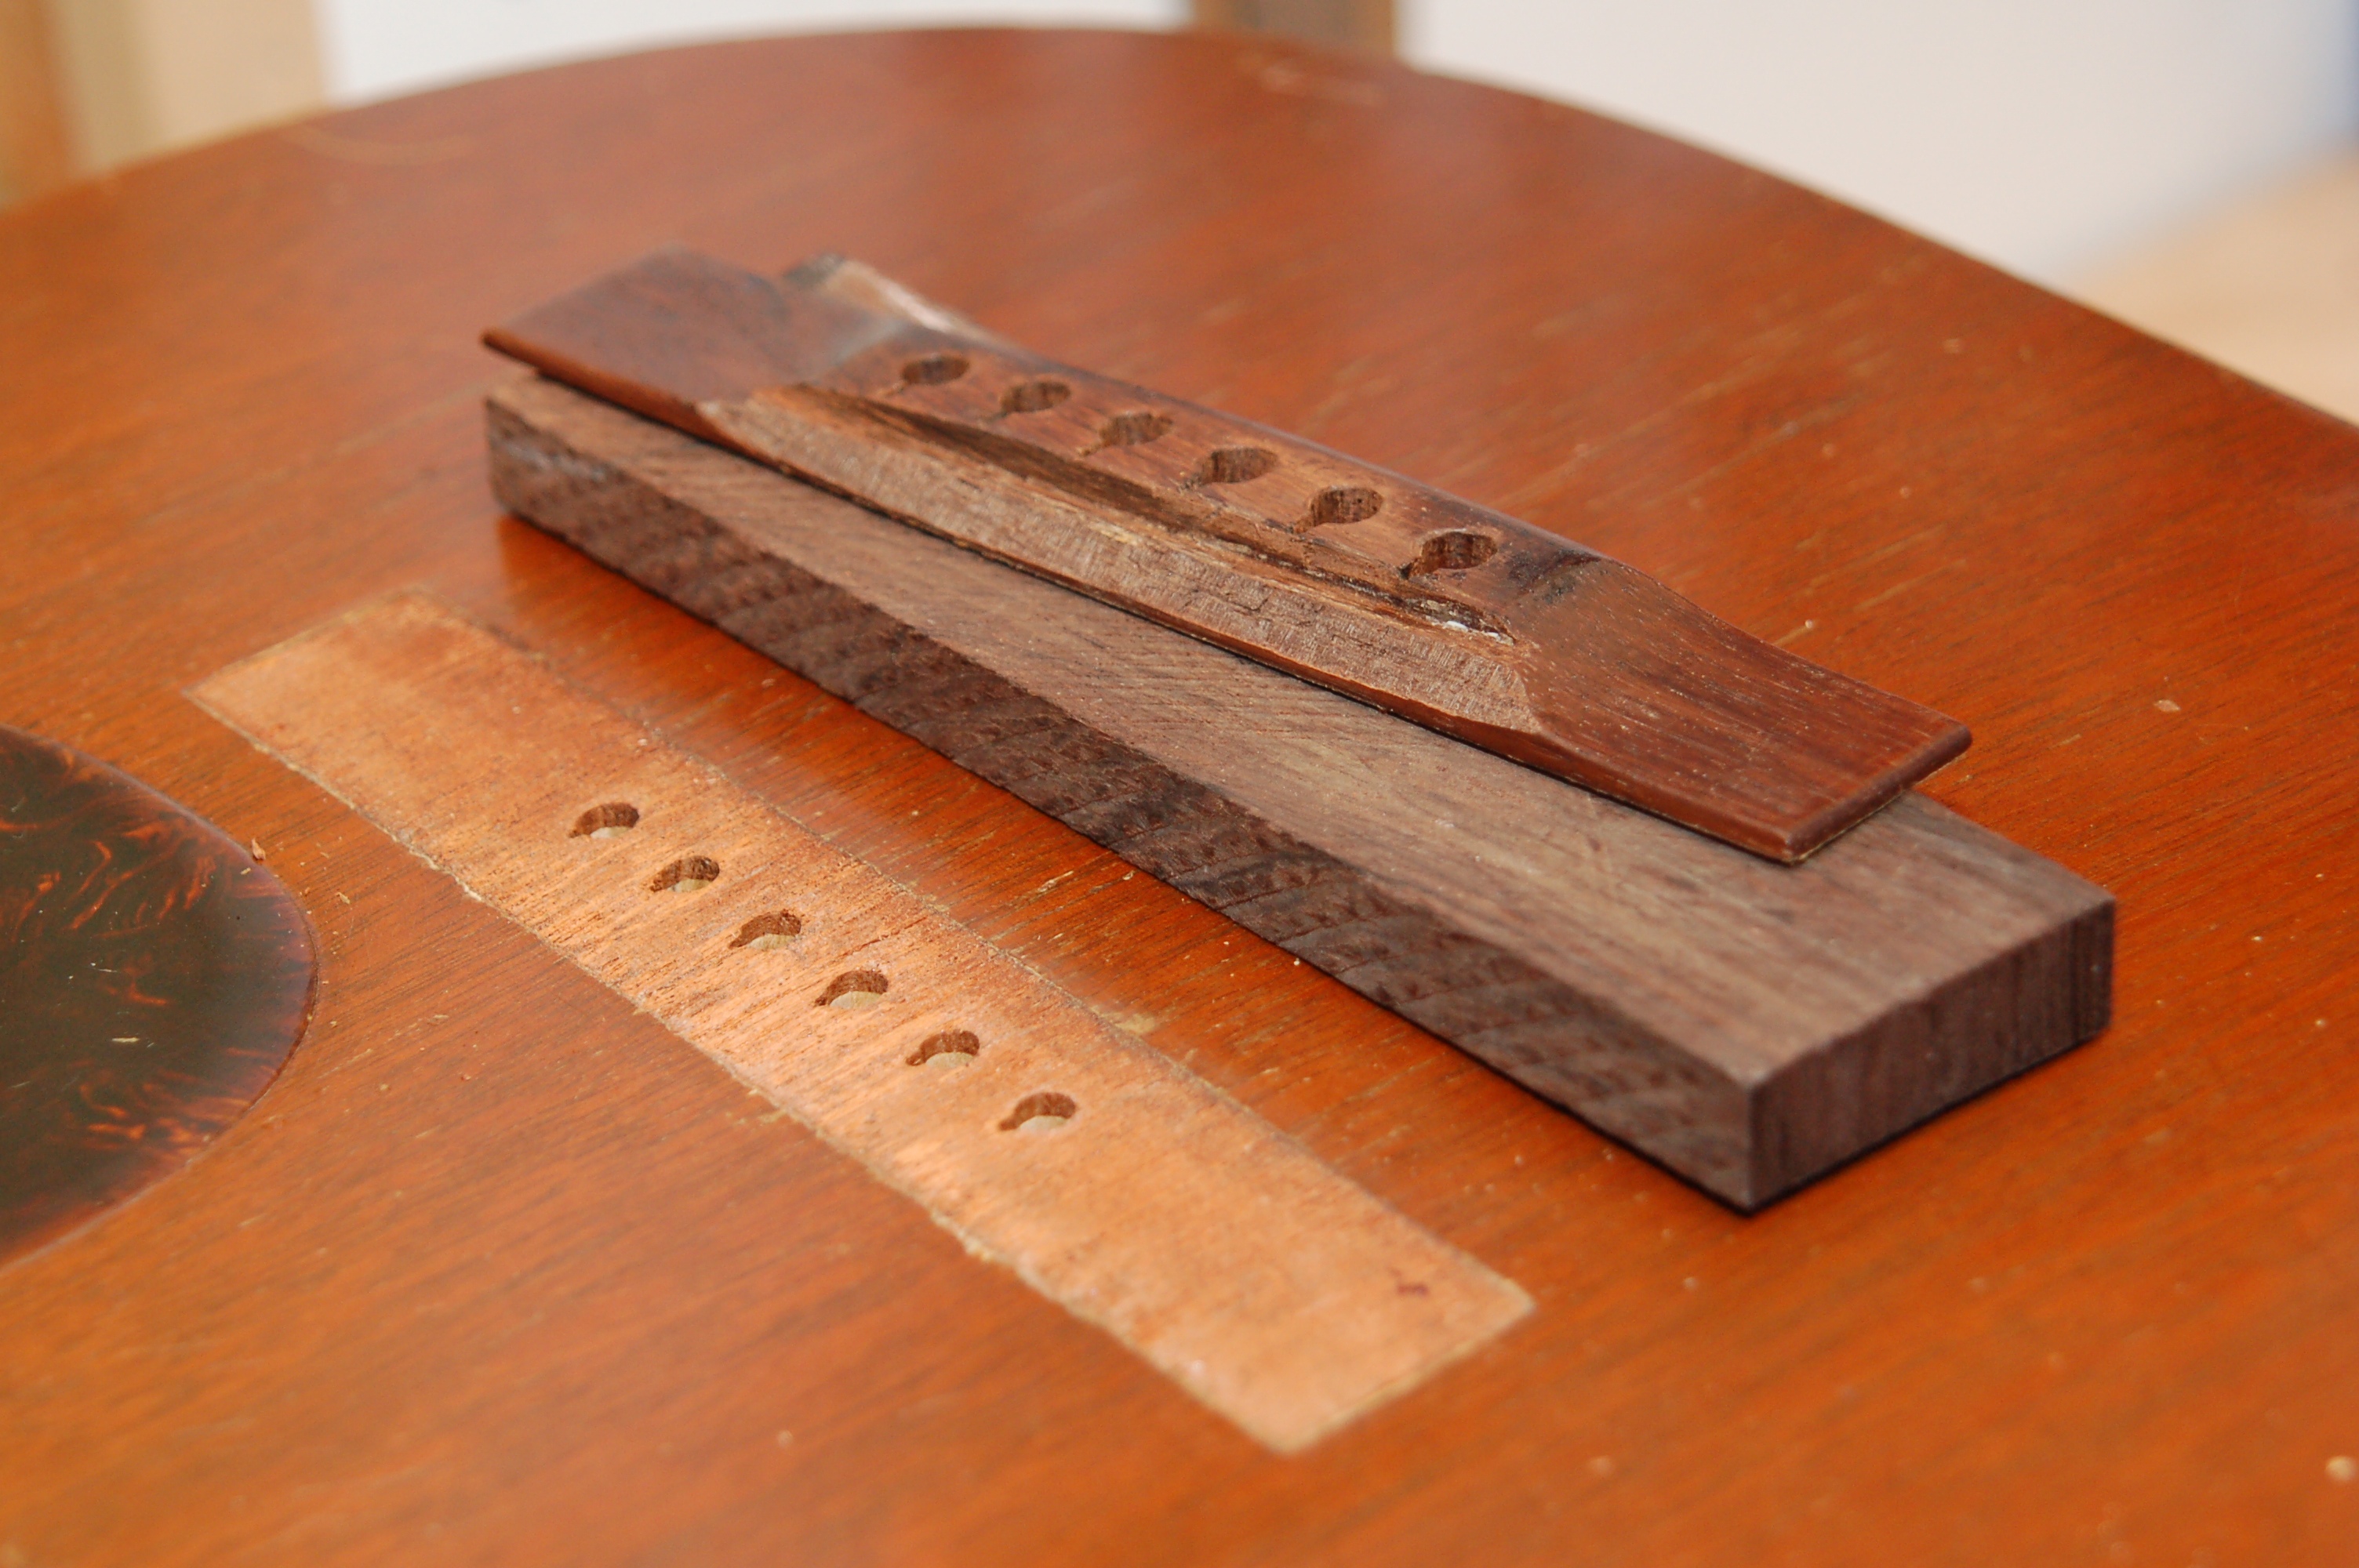 Now the broken bridge is off, this is how it all starts. You can see the removed bridge sitting on a block on Brazilian rosewood that will become its replacement. Brazilian rosewood is in extremely short supply and is very tightly controlled species as it was over-harvested for years. Brazilian would have been used for the original bridge however, and the owner is keen to keep things as original as it’s possible to be when a bit of the guitar is being removed and replaced. A good supplier should have ethical sources for Brazilian rosewood but expect the price to reflect the rarity of this wood.
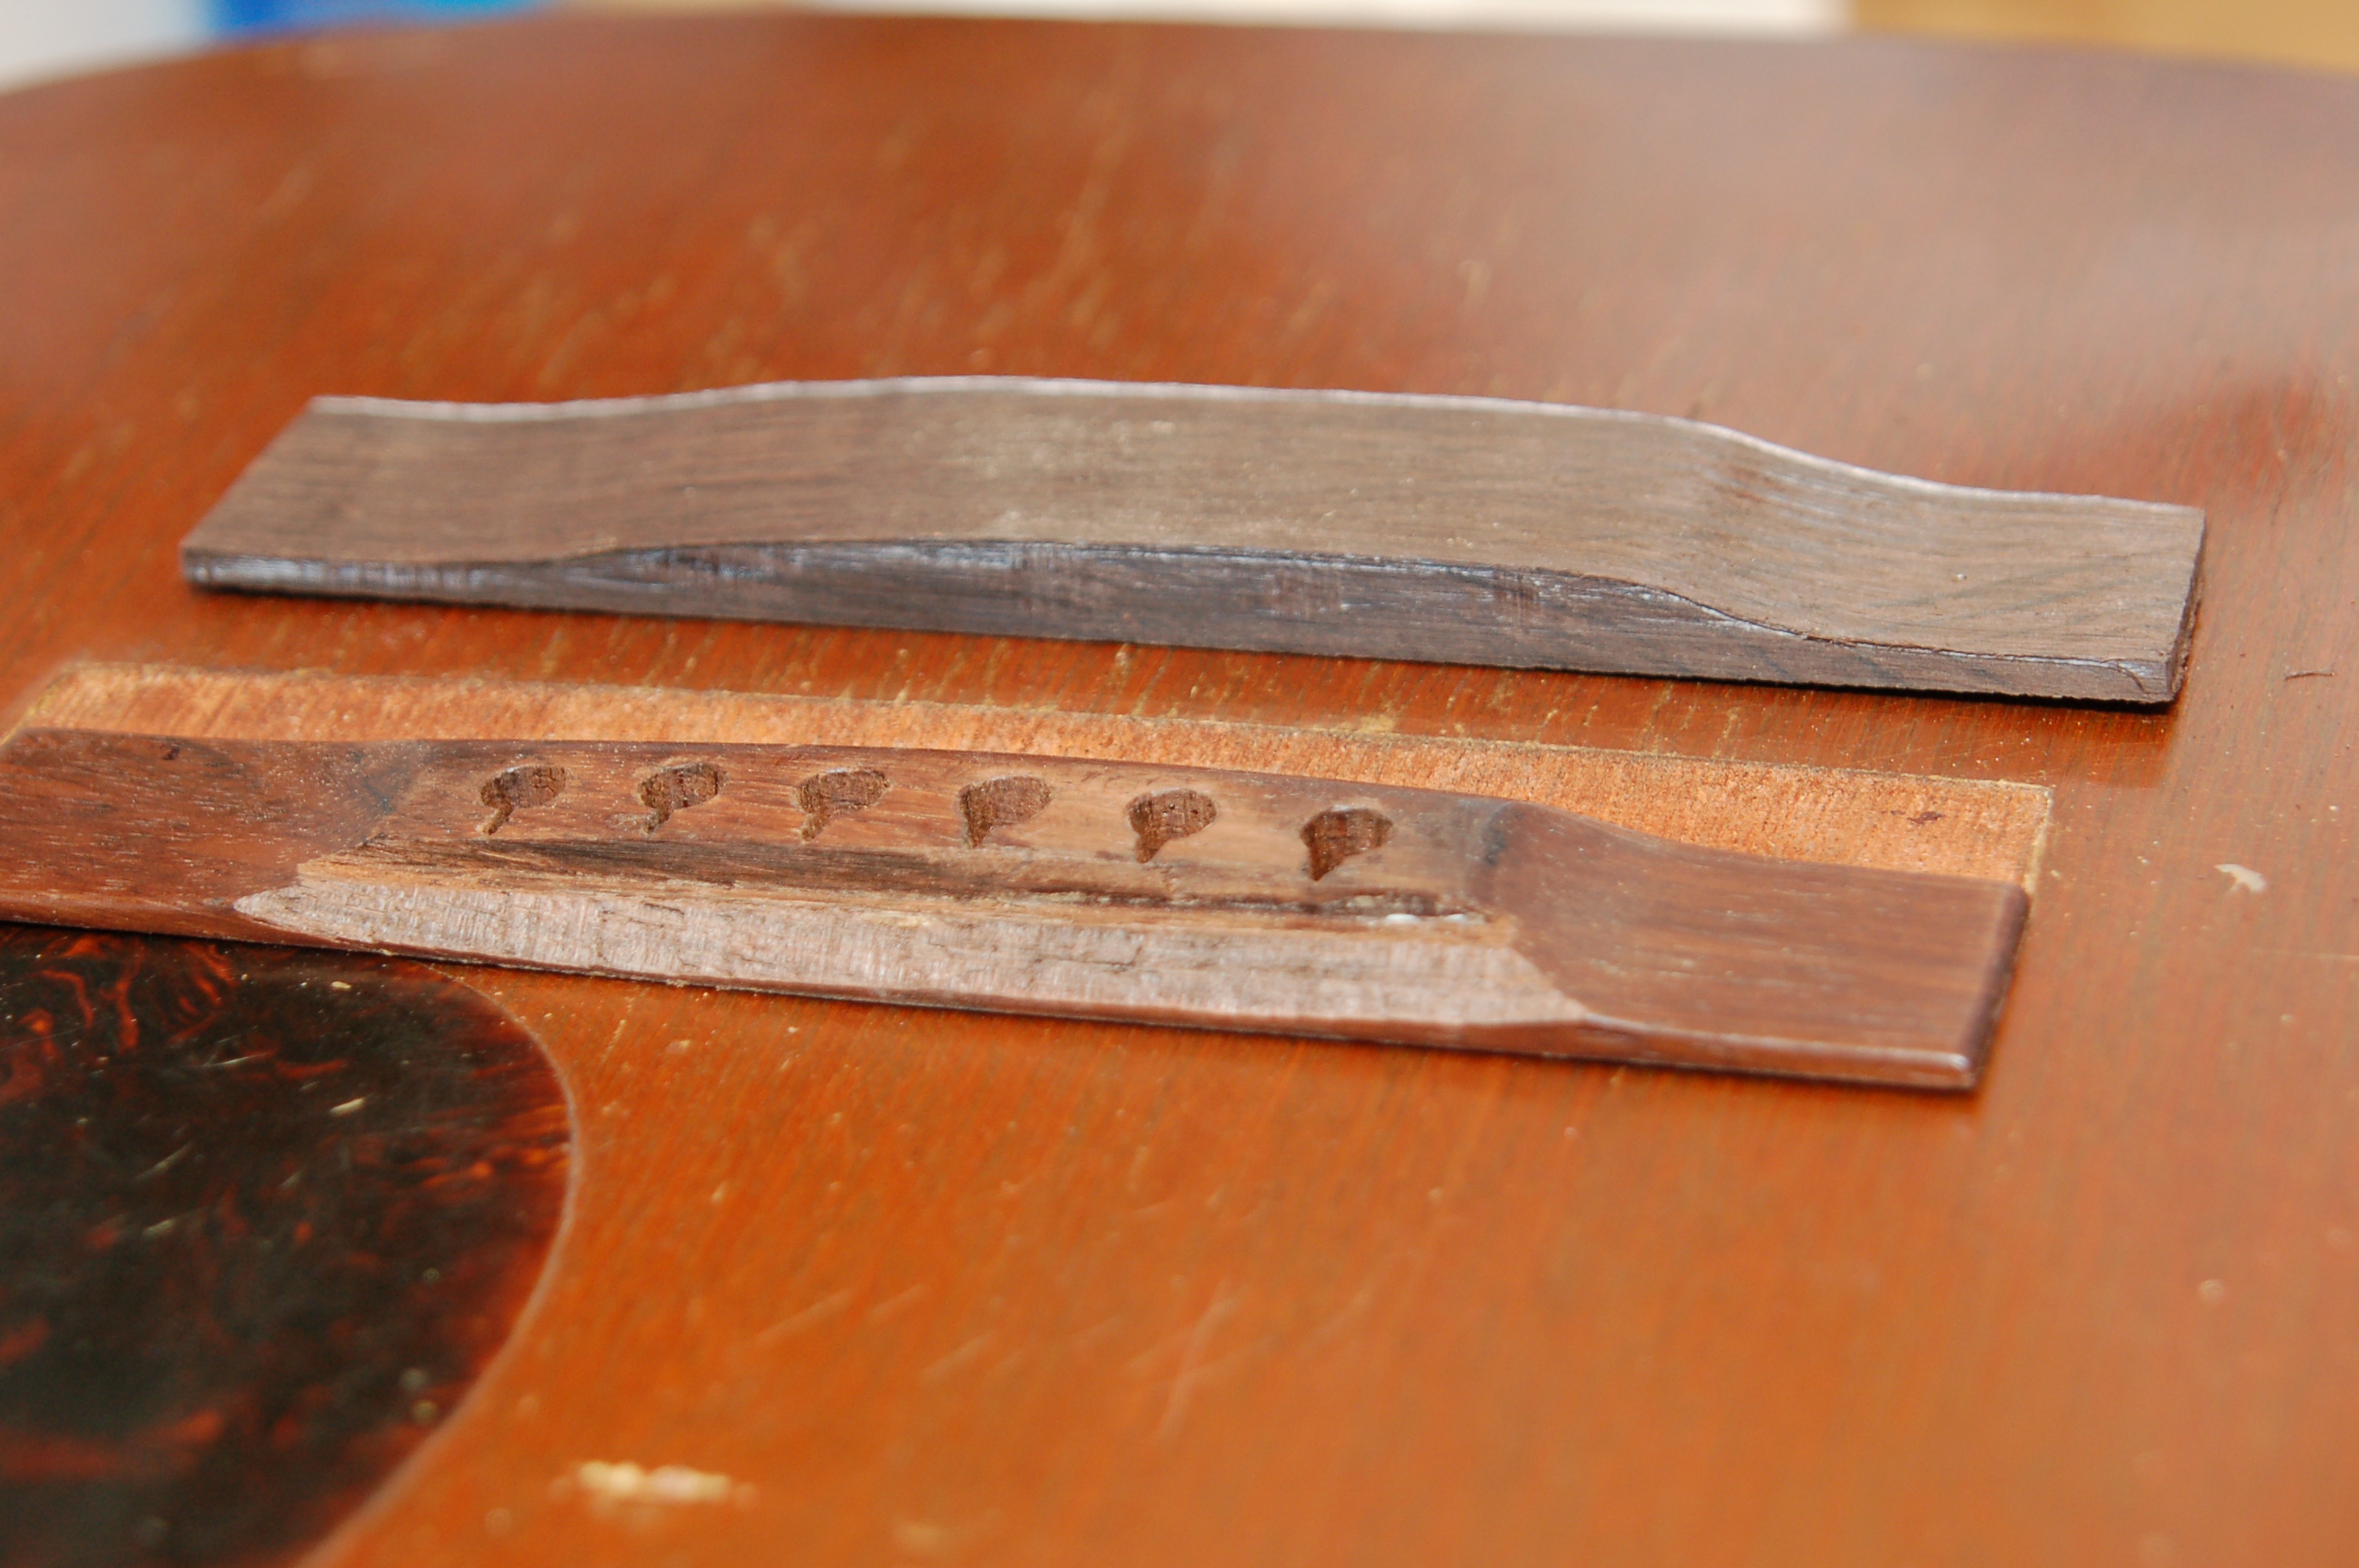 Next, it’s time to rough in the blank. The approximate shape and size of the bridge are cut into the blank block of rosewood using a variety of means. Bandsaw, rasps (some really nice hand-cut rasps, if you don’t mind my boasting) and a belt sander are used to rough things out. You can see the profile of the new and old bridges here – the bass side is higher than the treble side.
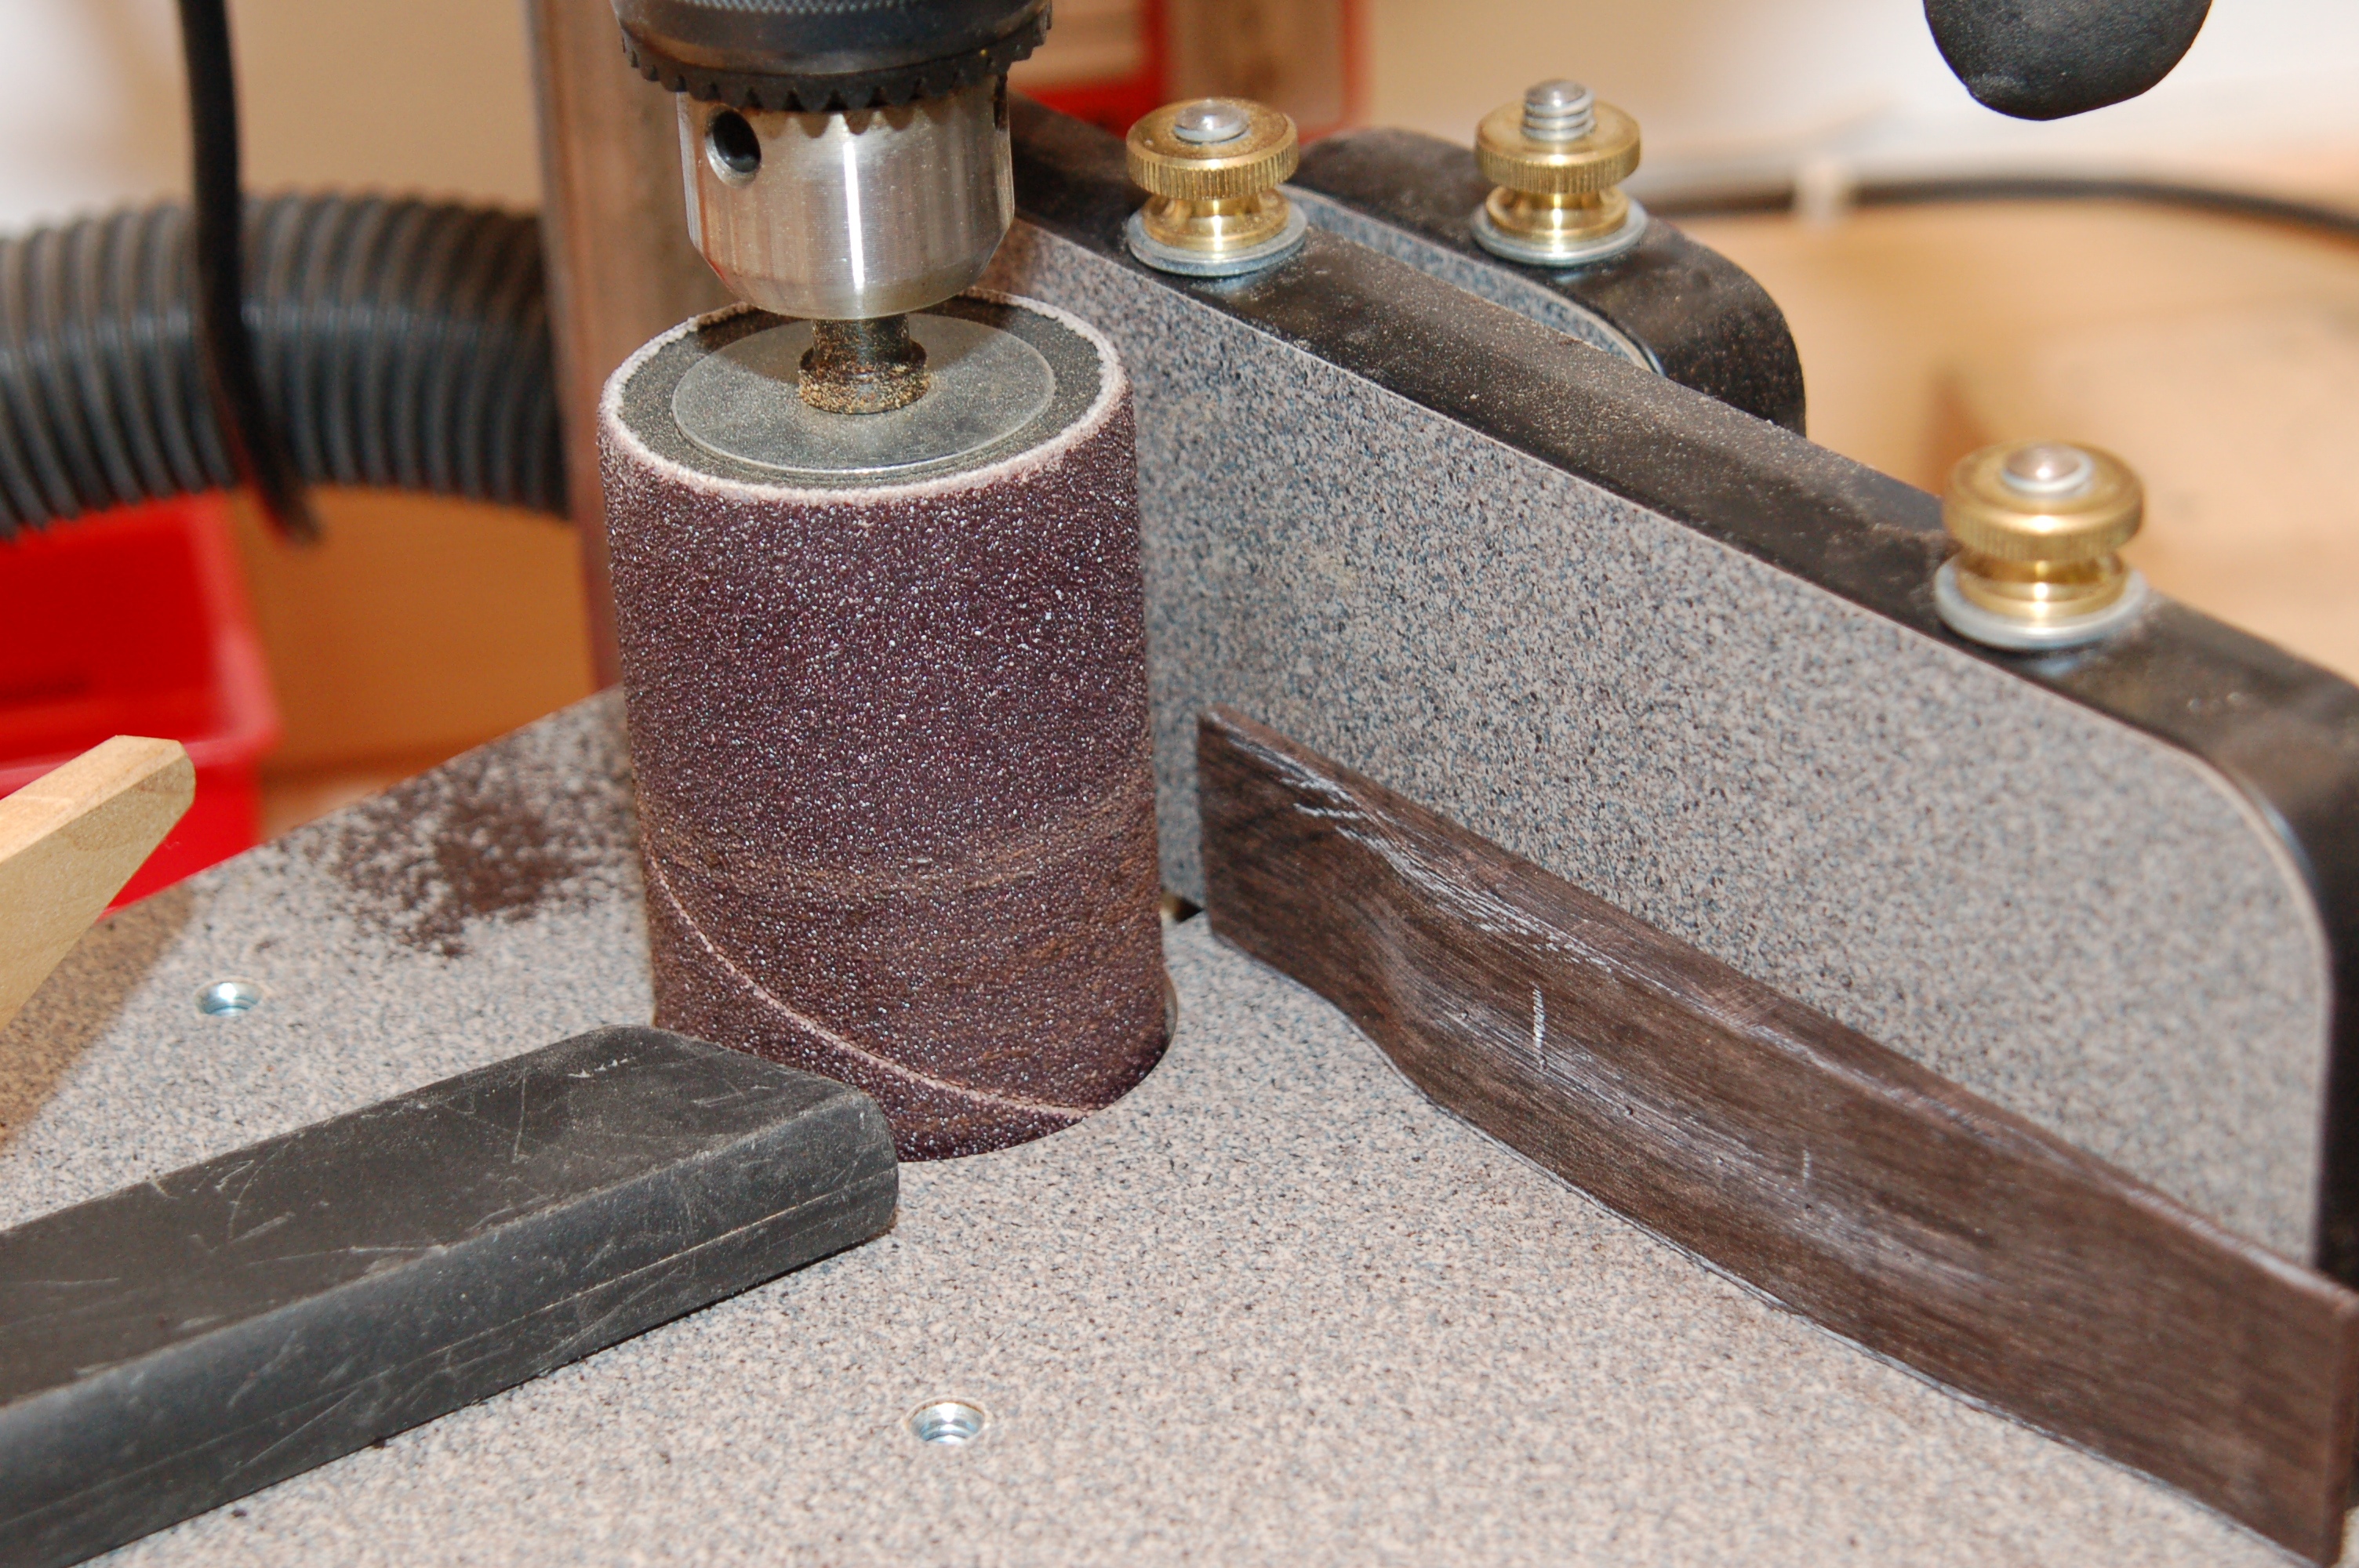 A little further in and it’s time to get a little more careful. Using a drum-sander attachment with this extremely helpful jig called the Luthier’s Friend makes it easy to control for very precise wood removal. The workpiece can be moved into the sanding drum in tiny increments – very handy. That’s a vacuum cleaner nozzle in the left foreground, by the way. Rosewood dust is a serious irritant and when you’re working with rosewood – especially sanding – good dust extraction is important. It’s probably not a bad idea to wear a dust mask too – I do.
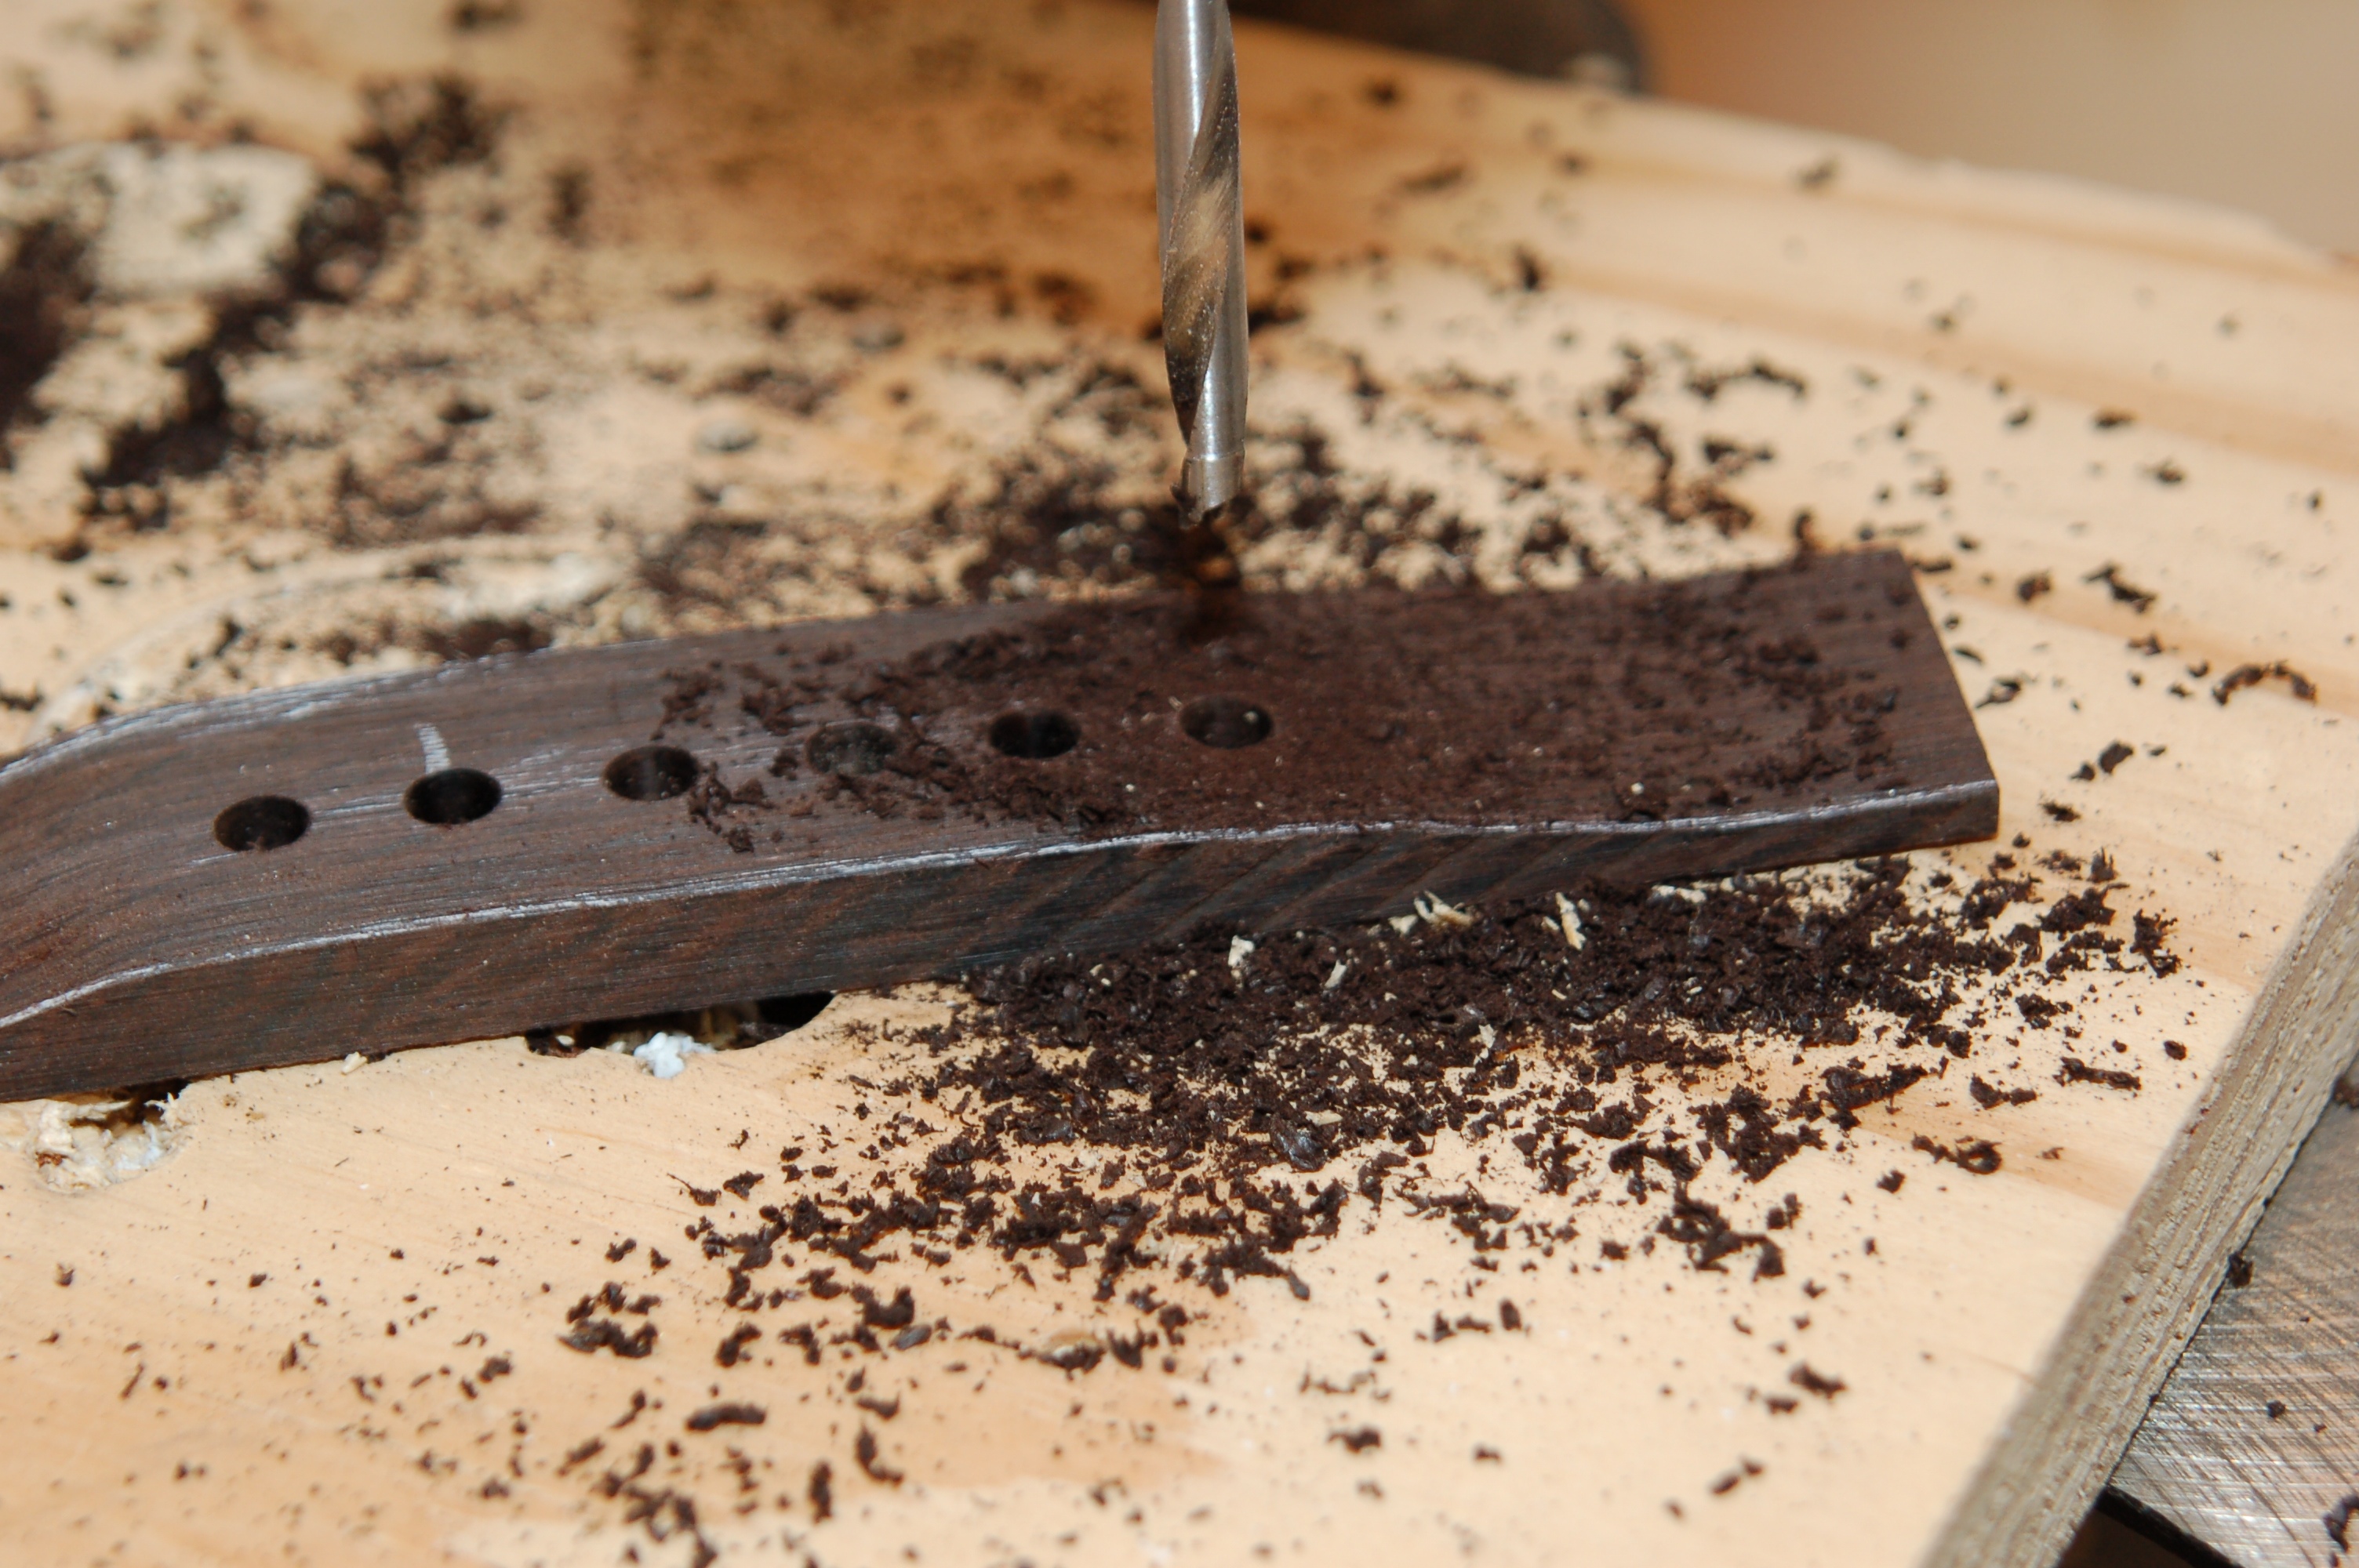 Now the holes. This is one of the most important parts and has to be accurate. If the holes are off, they will no line up with the existing holes in the guitar top and, at best, the strings will not sit well, possibly causing tone, tuning and wear issues. Every time I make a replacement bridge, I tell myself that, next time, it would be easier to mark these hole positions before rough-carving the blank. Then I forget and have to do things the hard way. Hard or easy, these have to be right. Use a good, sharp, brad-point drill bit and go at a speed appropriate to the piece and your drill. Make sure you have some wood backing to prevent tear-out when the bit emerges at the rear.
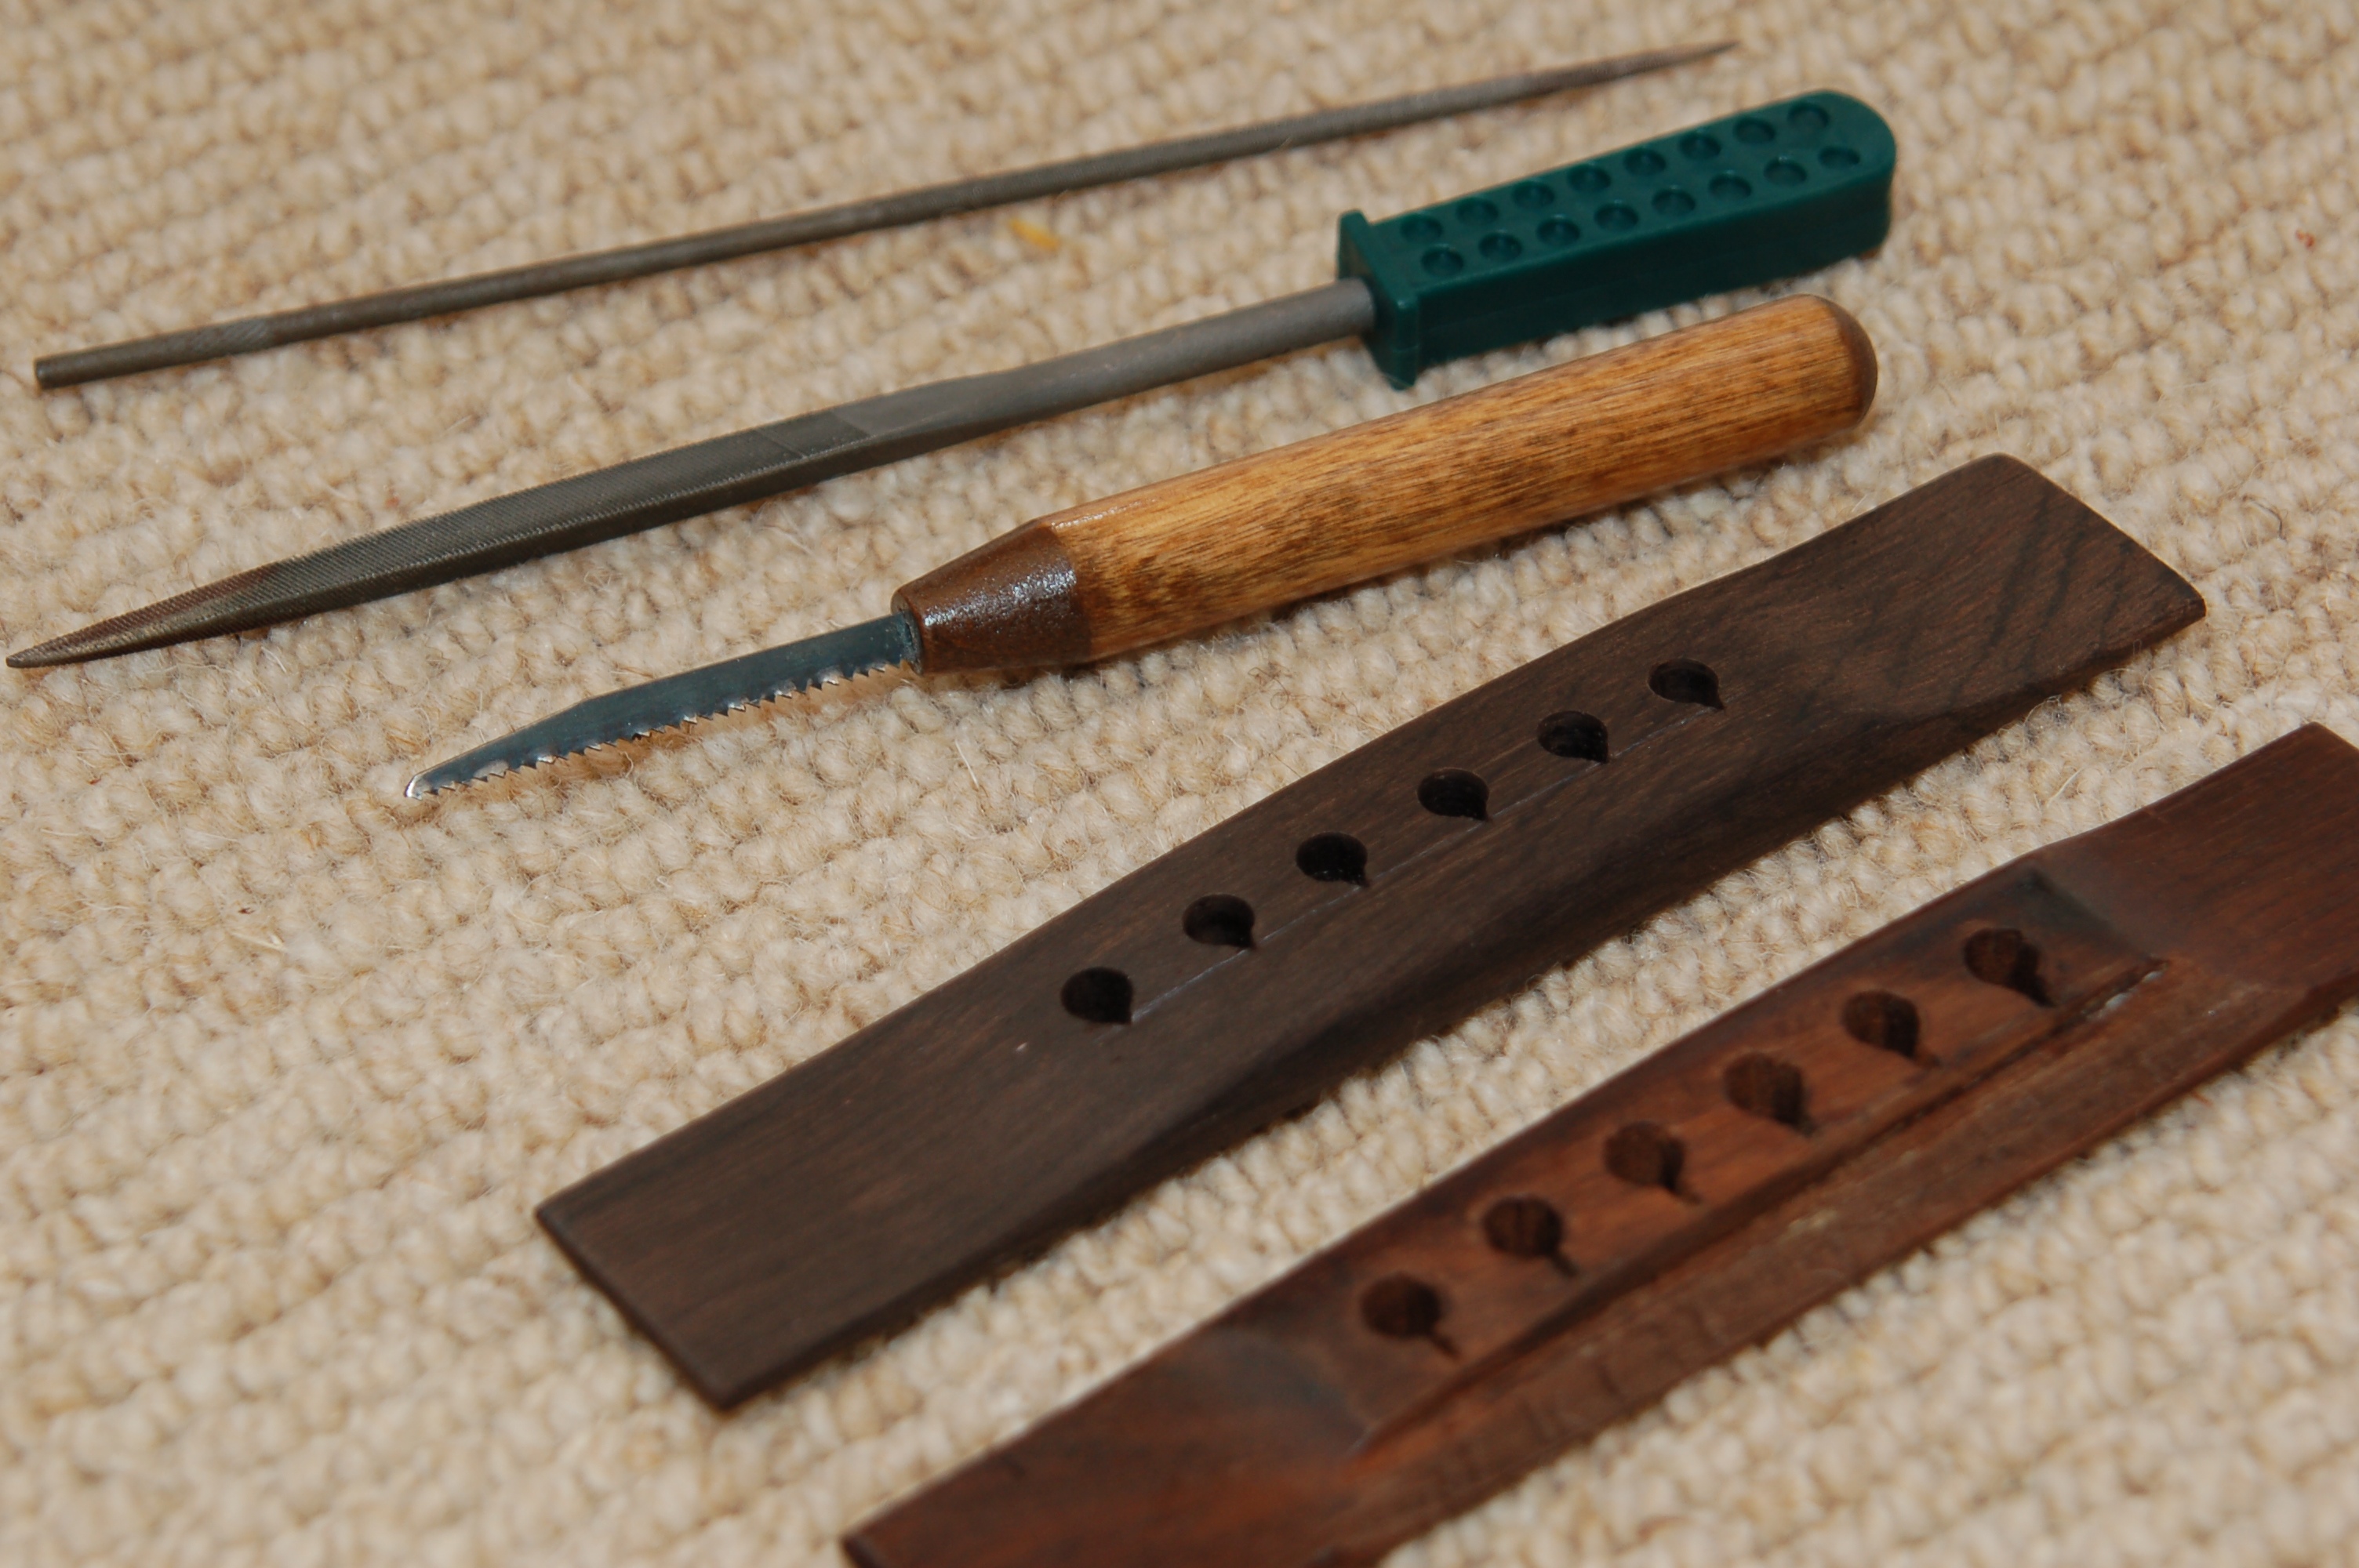 Using some needle files and a small saw, I rough in the string slots. I could do this when the bridge is attached to the guitar top but I prefer to do most of the work now and fine-tune later as there’s less chance of accidentally damaging or scratching the guitar if I do something daft. The slots are essentially a ramp for the strings to bear on as they head over the saddle (which, obviously, isn’t there yet). The saw roughs them in and the files clean them up.
Right, so far, so go. Next, fitting and gluing the new bridge, routing the saddle slot and fitting a saddle. First though, a cup of tea, I think. Watch out for the next thrilling instalment in this series on Martin Custom Bridge Replacement.
This article was brought to you by Gerry Hayes and from the workshop of Haze Guitars.
Haze Guitars provides instrument repair, restoration and upgrade services in Dublin, Ireland.