Heads Up 1 – Headstock Cracks (Easy-Peasy)
Right. I’m going to take a bit of a look at headstock damage. That bit up the end of your guitar neck can sometime be a bit vulnerable and I thought we’d outline the repairs to some of the issues that can occur.
Before we get going, the majority of (but not all) problems and damage to a guitar or bass’s headstock is caused by the instrument falling. If everybody put their guitars in their cases when they weren’t being used instead of leaning them against their amps, guitar repair-guys all over the world would see their incomes drop. Angled headstock guitars are particularly susceptible to this sort of damage and Gibsons even more so (although by no means exclusively). Pop your guitar in its case or on a secure hanger and you reduce your chances of breaking your head.
If you do manage to break or crack your guitar’s neck or peghead, don’t panic. Almost anything is repairable.
We’re going to start with some – relatively – straightforward stuff: cracks.
An Easy Headstock Crack Repair
 A headstock crack is generally a little better than a complete break. There is usually still some wood holding somewhere and aligning the pieces of the crack tends to be straightforward.
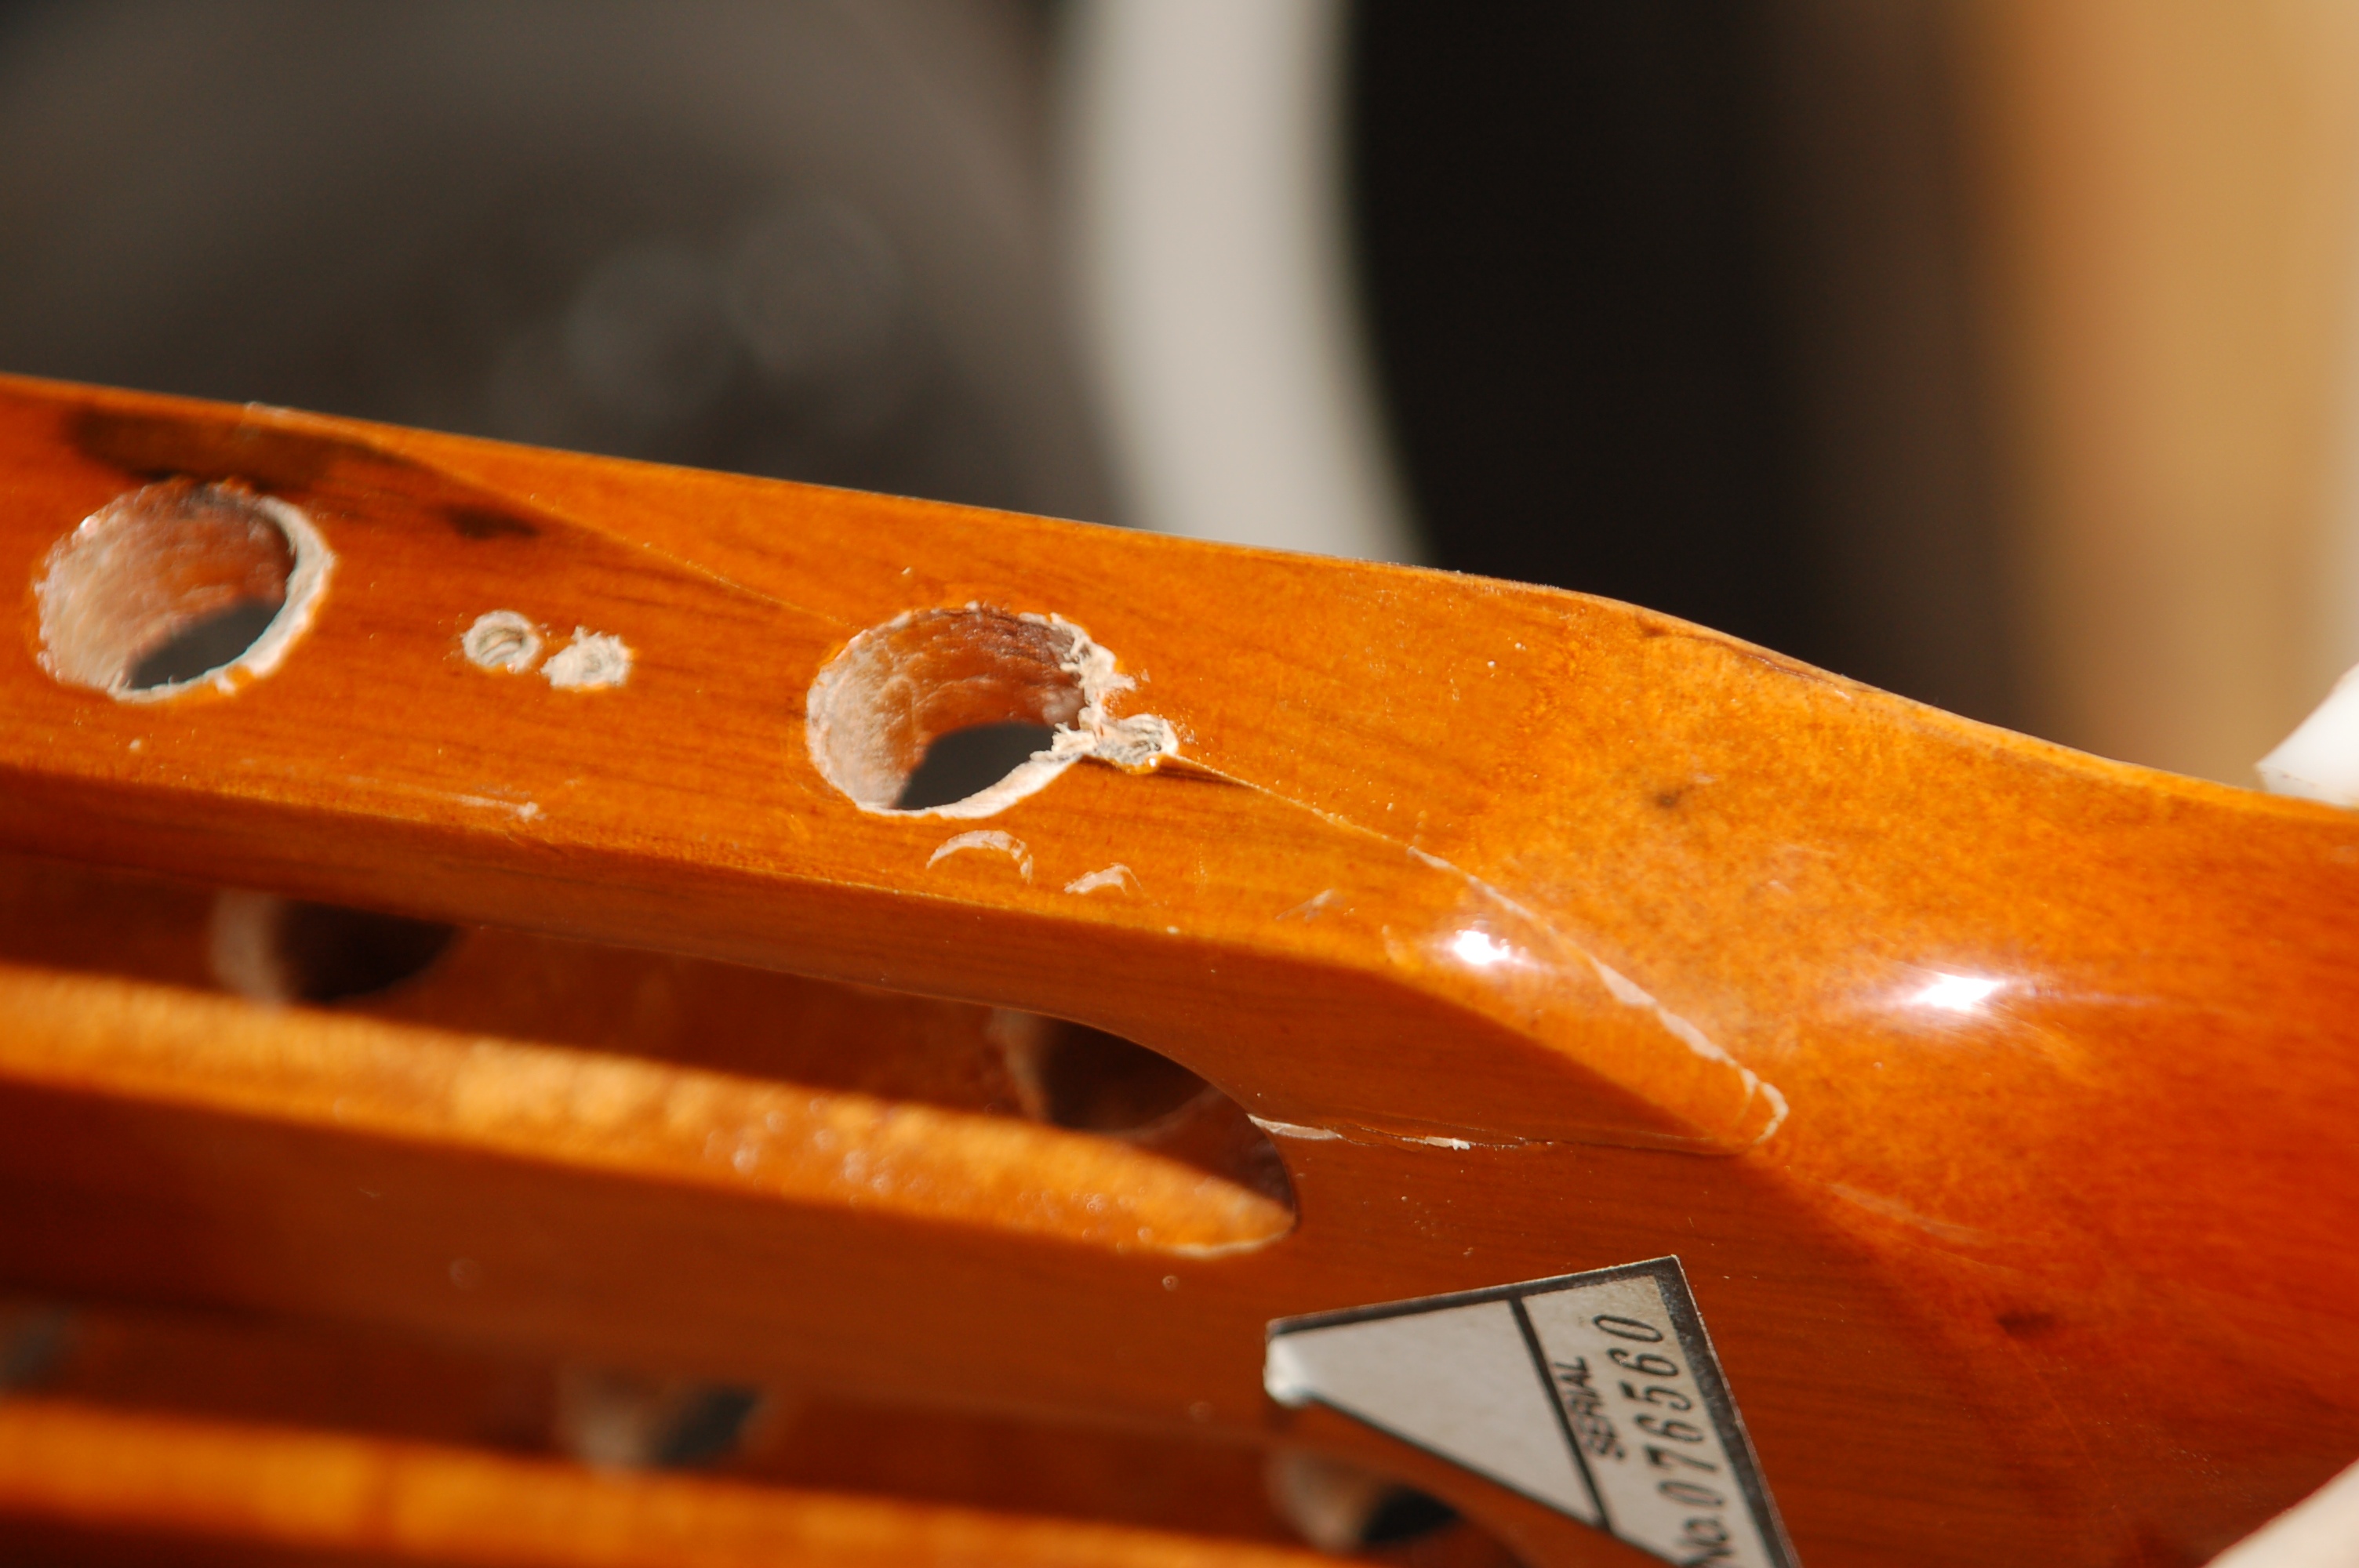
One drawback of a crack is that, in most cases, it’s difficult to work sufficient glue into the crack to get a sound repair. If the glue doesn’t penetrate well (i.e. all the way) into the darkest recesses of the crack, the repair is not as good as it could be. This means inventive ways to open the crack and to work the glue in must be found.
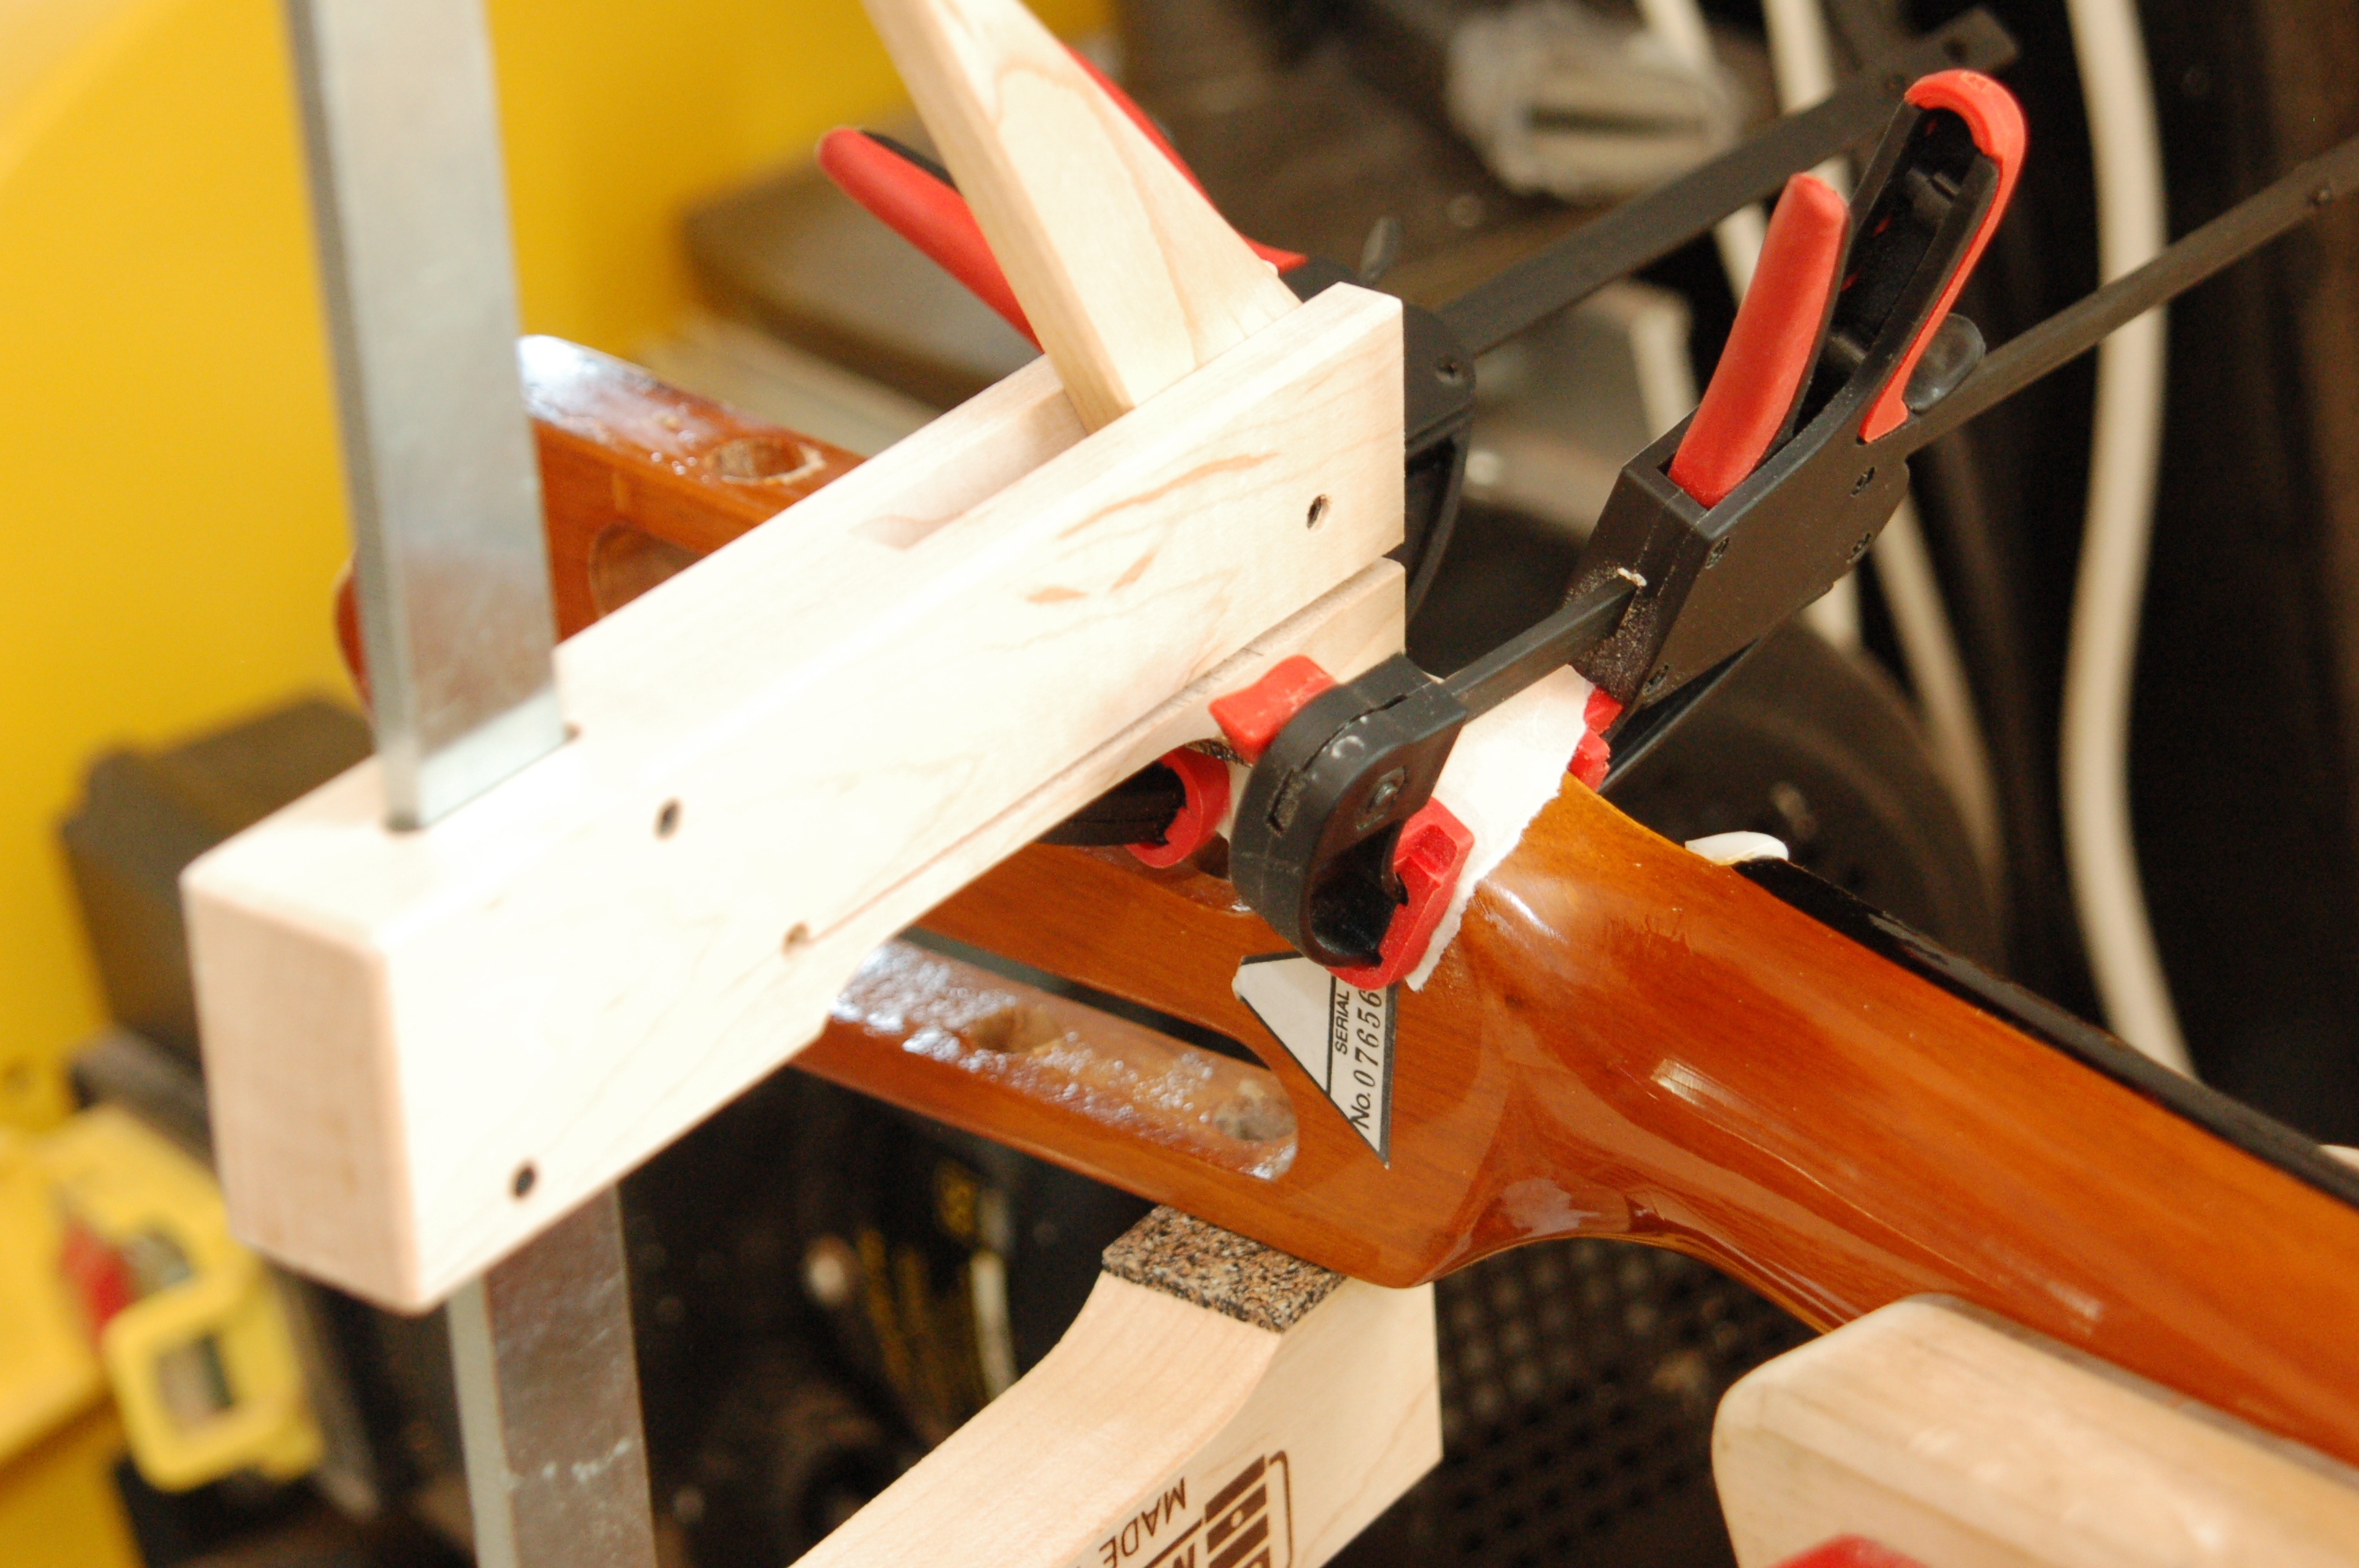 In some cases, as in this classical peghead crack, it’s not too difficult. This was a pretty easy repair. The crack is along the scarf line where the manufacturer glued an extension to the neck blank in order to form the peghead itself. The location allows for the crack to be opened quite easily by wedging (carefully) into the tuner hole. Once it’s open, hot hide glue is worked in without too much bother. Then – and again the location is lucky – the crack can be easily clamped without any hassle.
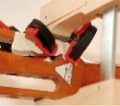
The larger, wooden cam-clamp in the image is there to keep the repair aligned and isn’t exerting a lot of pressure. The pressure is coming form the two smaller bar-clamps. As you can see, I’ve put wax paper between the clamps and the repair to prevent them all getting glued together. I’m not even using cauls here – the clamp jaws are soft and there’s not much area over which to spread the load.
 This instrument is a budget guitar and the owner just wanted it made sound. No touchup was performed and the clean-up of the hide glue is nice and easy too – some warm water does the trick.
Quick and cheap. No muss, no fuss.
Next time, we’ll go with something a bit more challenging. Read that in the brilliantly titled, Heads Up 2 – Headstock Cracks (A Bit More Challenging).
This article was brought to you by Gerry Hayes from the workshop of Haze Guitars. Haze Guitars provides instrument repair, restoration and upgrade services in Dublin, Ireland.